Introduction
Hey there, fellow dessert enthusiast! Today, I’m excited to share a delightful recipe for 30-Minute No Bake Peanut Butter Cheesecake Balls. Trust me, these little bites of heaven are a game-changer and a crowd-pleaser on any occasion. I stumbled upon this recipe during a baking frenzy at home and instantly fell in love with its simplicity and irresistible taste.
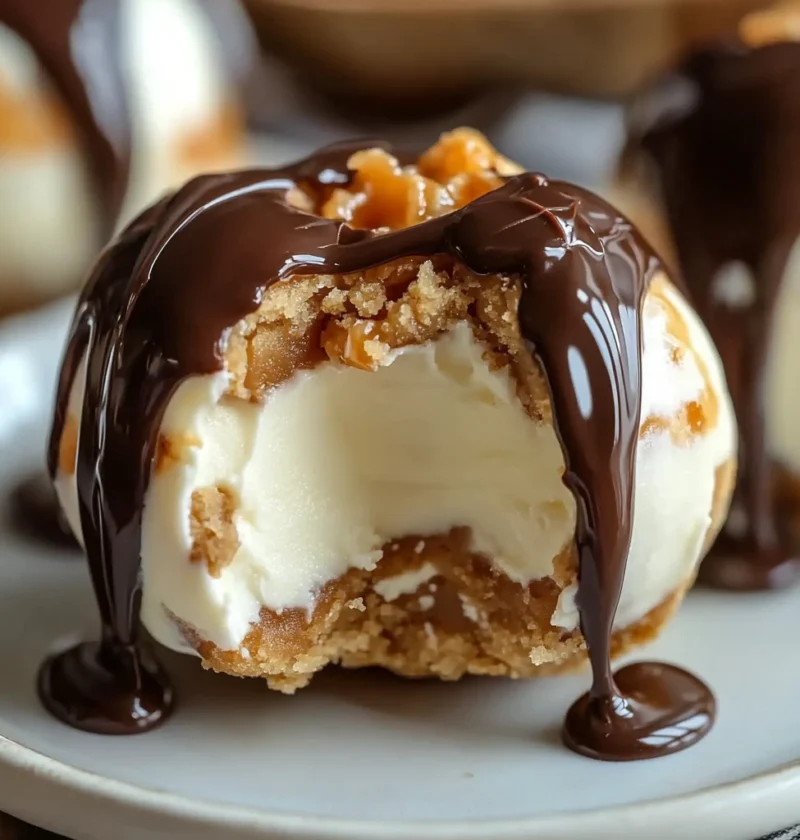
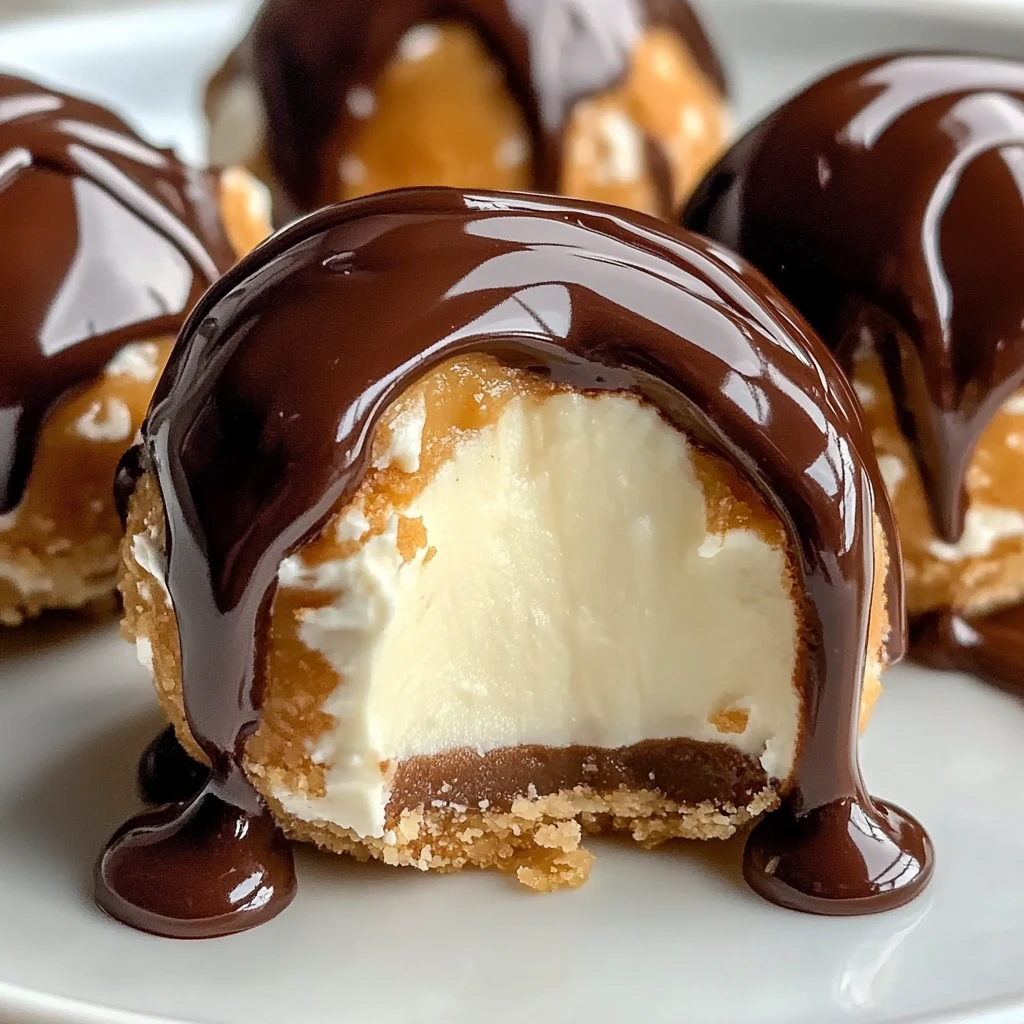
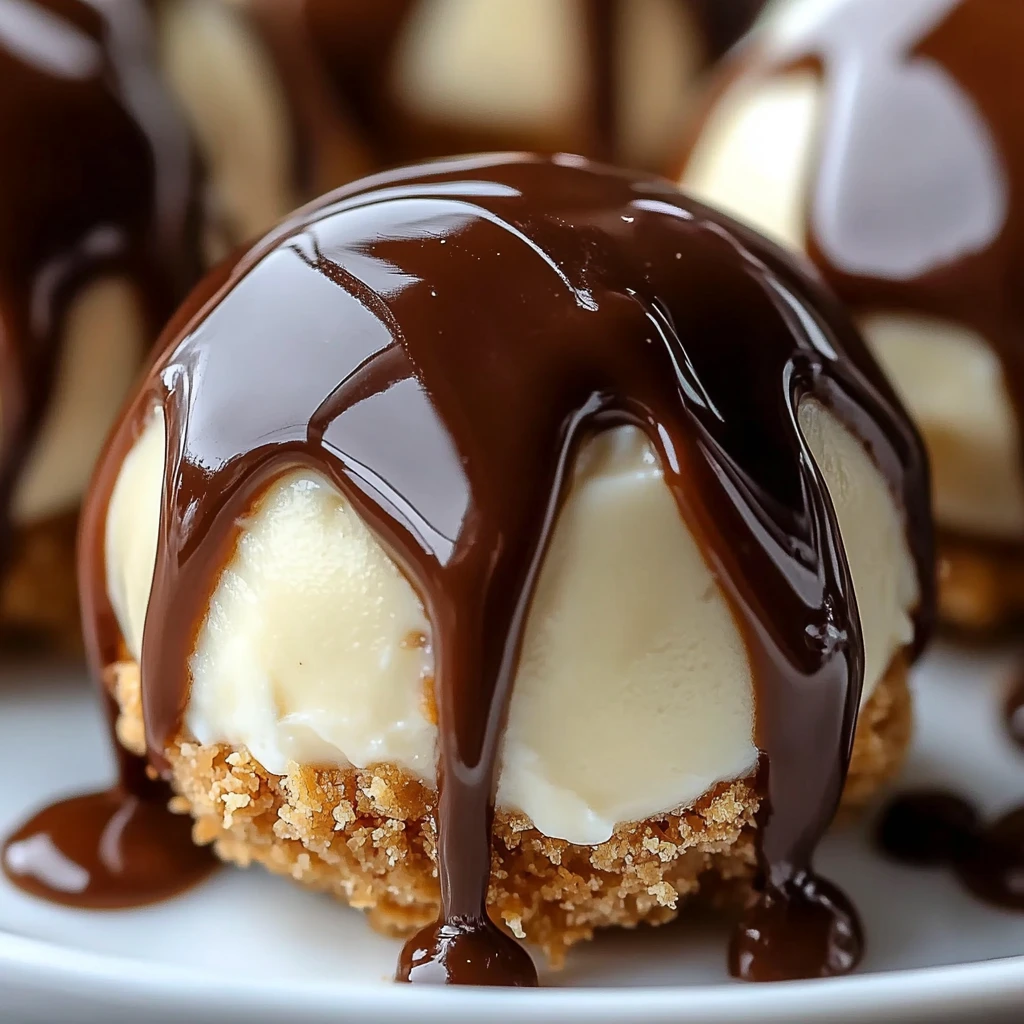
Picture this: creamy peanut butter combined with rich cheesecake flavors, all rolled into perfectly bite-sized balls. These cheesecake balls are not only easy to make but also disappear within seconds of hitting the dessert table. So, let’s dive into the magic of creating these delectable treats!
Now, grab your apron, a mixing bowl, and let’s embark on this sweet culinary adventure together. Get ready to indulge in the creamy goodness of these no-bake cheesecake balls that will leave you craving for more!
Why You’ll Love This Recipe
Let me tell you why I adore making these cheesecake balls. Whenever I’m short on time but still want to impress my guests with a delicious dessert, I whip up a batch of these beauties. My family goes crazy for this treat because it combines the best of two worlds – peanut butter and cheesecake – in one delightful bite. Plus, the no-bake factor makes it a lifesaver on busy days!
So, if you’re looking for a quick, no-fuss dessert that is guaranteed to please both kids and adults alike, this recipe is your go-to. Trust me; these cheesecake balls will become a staple in your dessert repertoire in no time!
(Psst… I sometimes sneak a few extra balls for myself when no one’s looking – they’re just that irresistible!)
Now, let’s gather our ingredients and get started on this mouthwatering journey.
Ingredients
For this recipe, you’ll need:
– 1 cup creamy peanut butter
– 8 oz cream cheese, softened
– 1/2 cup powdered sugar
– 1 tsp vanilla extract
– 1 1/2 cups graham cracker crumbs
– 1 cup chocolate chips (optional for coating)
– Crushed peanuts or sprinkles for garnish (optional)
Feel free to experiment with the ingredients. I sometimes use almond butter instead of peanut butter for a twist, and it works like a charm! Remember, cooking is all about creativity and making the recipe your own.
Directions
1. In a mixing bowl, combine the creamy peanut butter, softened cream cheese, powdered sugar, vanilla extract, and graham cracker crumbs. Mix until smooth and well incorporated.
2. Shape the mixture into small balls using your hands and place them on a baking sheet lined with parchment paper. Refrigerate for about 15-20 minutes to firm up.
3. If desired, melt the chocolate chips in the microwave in 30-second intervals, stirring in between until smooth. Dip each cheesecake ball into the melted chocolate to coat evenly.
4. Place the chocolate-coated balls back on the parchment paper and sprinkle with crushed peanuts or colorful sprinkles for a decorative touch.
5. Chill the cheesecake balls in the refrigerator for another 10-15 minutes until the chocolate sets.
6. Serve and enjoy these delightful peanut butter cheesecake balls as a sweet treat after dinner or as a party dessert that will surely impress your guests!
Notes
Through trial and error, I’ve discovered that refrigerating the mixture before shaping the balls makes the process much easier. The chilled mixture holds its shape better and prevents the balls from becoming too sticky.
Don’t worry if your cheesecake balls aren’t perfectly round – imperfections add character and show that they are homemade with love!
Remember, the chocolate coating is optional. If you prefer a simpler version, these cheesecake balls are just as delicious without it.
Feel free to get creative with the toppings. Crushed pretzels, shredded coconut, or even a drizzle of caramel sauce can take these cheesecake balls to the next level!
Variations
As an avid experimenter in the kitchen, I’ve tried various twists on this recipe. One experiment that didn’t quite work out was substituting almond flour for graham cracker crumbs – the texture was off, and the balls didn’t hold their shape well. Sometimes, sticking to the classic ingredients is the key to success!
For a fun twist, try adding a dash of cinnamon or nutmeg to the mixture for a hint of warmth and spice. You can also roll the finished balls in crushed Oreos for a cookies-and-cream version that’s sure to please.
Equipment
If you don’t have a microwave for melting the chocolate, you can use a double boiler as a workaround. Simply place a heatproof bowl over a pot of simmering water, making sure the bottom of the bowl doesn’t touch the water. Stir the chocolate until melted and proceed with coating the cheesecake balls.
Storage Information
Though honestly, in my house, these cheesecake balls never last more than a day! But if you happen to have leftovers, store them in an airtight container in the refrigerator. They should stay fresh for up to 3-4 days, but I bet they’ll be gone before you know it!
Serving Suggestions
I love serving these peanut butter cheesecake balls with a dollop of whipped cream and a drizzle of chocolate sauce for an extra indulgent touch. They also pair beautifully with a hot cup of coffee or a glass of cold milk. Enjoy them as a post-dinner treat or pack them in a cute box for gifting to friends and family!
Pro Tips
One lesson I’ve learned form making these cheesecake balls is to refrigerate them for at least 30 minutes before serving. This allows the flavors to meld together and the texture to become perfectly creamy.
I once tried skipping the step of chilling the mixture before shaping the balls, and let me tell you, it was a sticky disaster! So, trust me on this one and give the mixture some time to firm up in the fridge.
FAQ
Q: Can I use crunchy peanut butter instead of creamy?
A: Absolutely! The added crunch will add a lovely texture to the cheesecake balls. Just be mindful that the balls may not hold their shape as well with the chunkier peanut butter.
Q: How far in advance can I make these for a party?
A: These cheesecake balls can be made a day ahead and stored in the refrigerator until you’re ready to serve them. Just be sure to keep them chilled to maintain the perfect consistency.
Q: Can I freeze these cheesecake balls for later?
A: While I haven’t personally tried freezing them, I believe they should freeze well in an airtight container. Thaw them in the refrigerator before serving for the best texture.

30-Minute No Bake Peanut Butter Cheesecake Balls | Irresistible Dessert
Delightful and creamy peanut butter cheesecake balls coated in chocolate and garnished with crushed peanuts for a sweet and irresistible treat. These no-bake bites are perfect for quick dessert fixes and guaranteed to please both kids and adults alike.
Ingredients
-
1 cup creamy peanut butter
-
8 oz cream cheese, softened
-
1/2 cup powdered sugar
-
1 tsp vanilla extract
-
1 1/2 cups graham cracker crumbs
-
1 cup chocolate chips
-
Crushed peanuts or sprinkles for garnish
Directions
-
In a mixing bowl, combine peanut butter, cream cheese, powdered sugar, vanilla extract, and graham cracker crumbs. Mix until smooth.
-
Shape the mixture into small balls and refrigerate for 15-20 minutes to firm up.
-
Melt chocolate chips, dip cheesecake balls in chocolate, then sprinkle with crushed peanuts or sprinkles.
-
Chill the balls in the refrigerator for 10-15 minutes until the chocolate sets.
-
Serve and enjoy as a delightful sweet treat!