Introduction
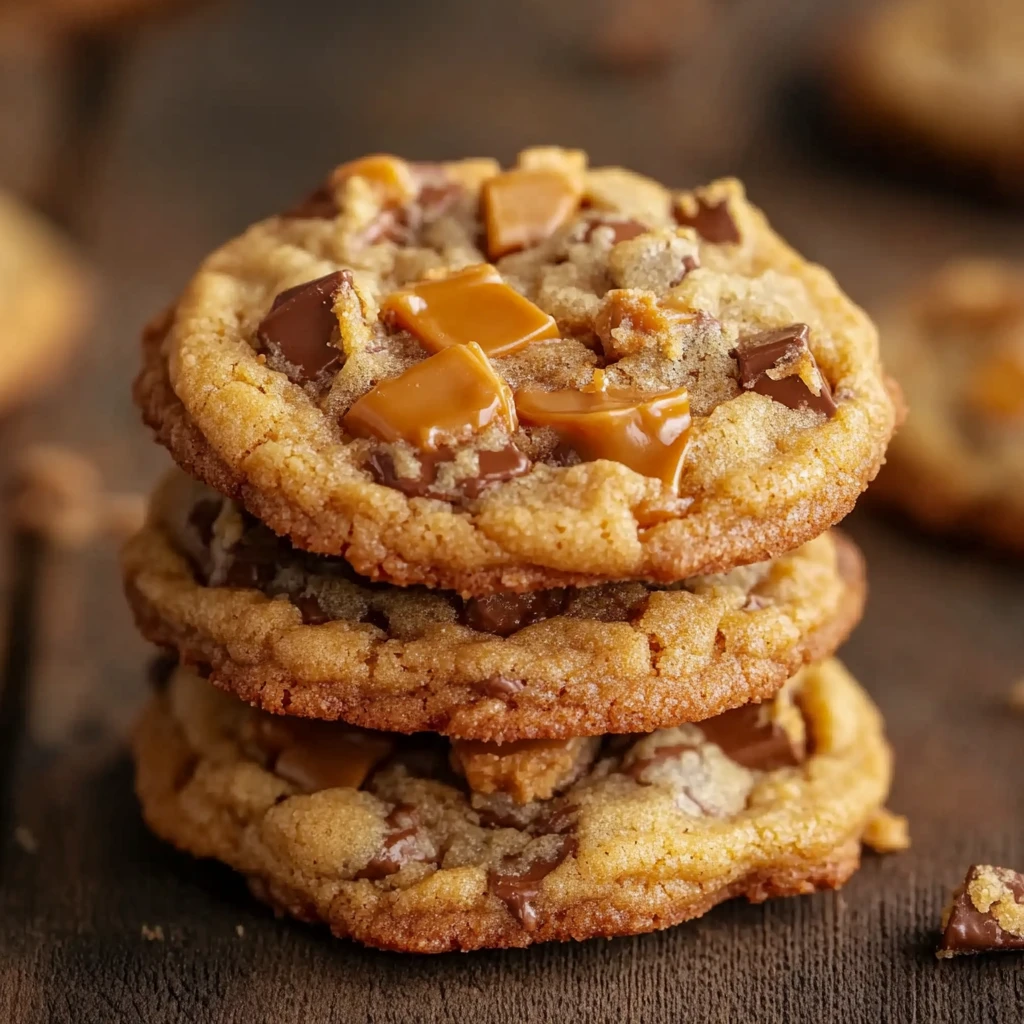
Hey there, fellow cookie lover! Today, I’m excited to share with you a delightful recipe for Butterfinger Caramel Crunch Cookies. Baking these cookies always takes me back to my childhood when the sweet aroma filled our kitchen, and my siblings and I eagerly waited to sneak a warm, gooey bite before they even cooled. Trust me; once you try these cookies, you’ll be hooked!
Why You’ll Love These Cookies
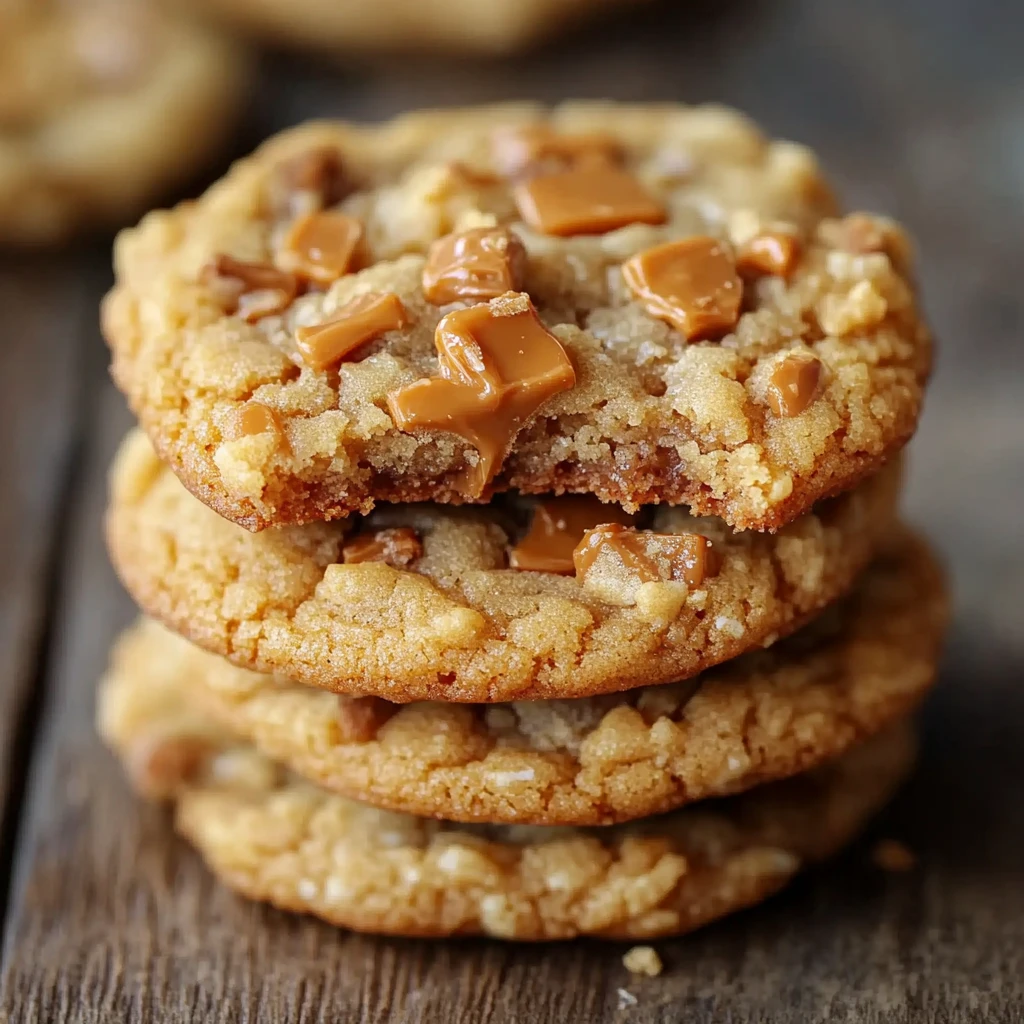
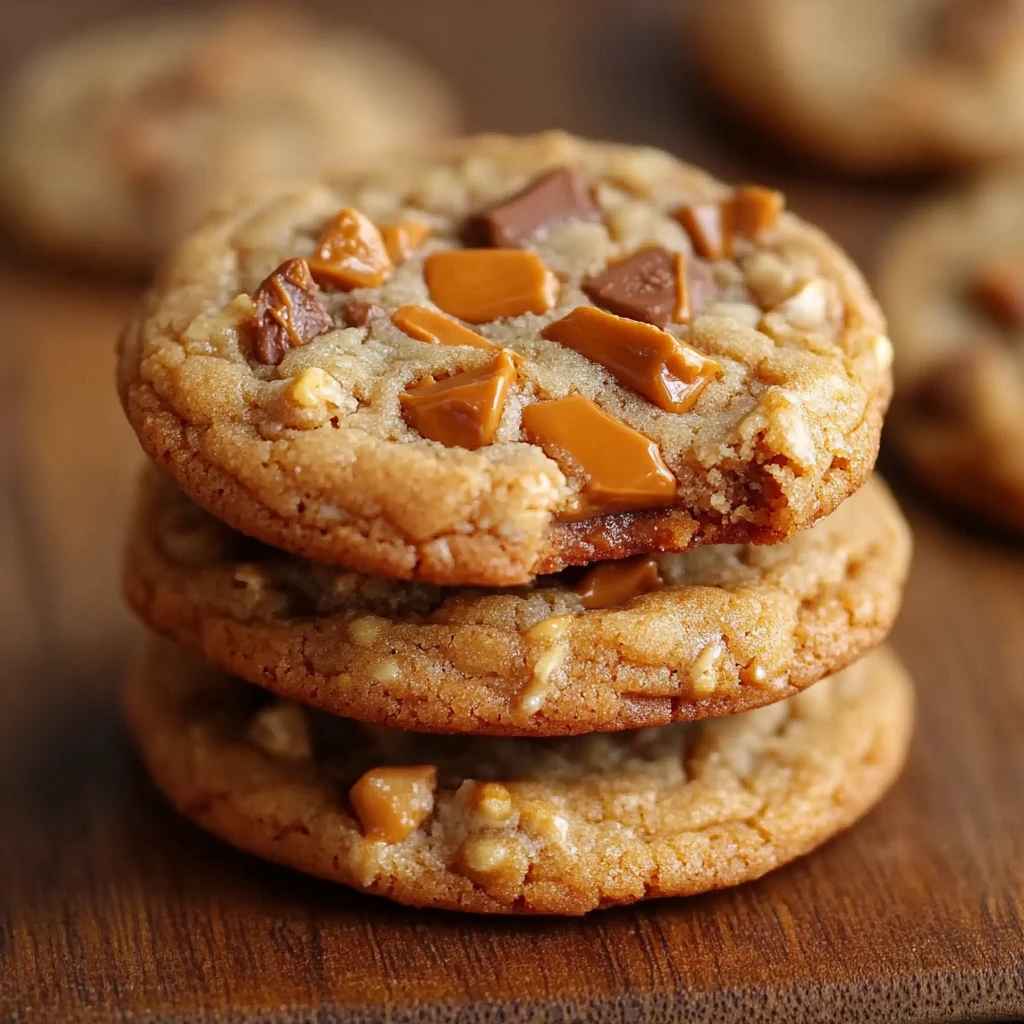
These Butterfinger Caramel Crunch Cookies are my go-to when I want to impress guests or simply treat myself. The combination of rich caramel, crispy Butterfinger bits, and chewy cookie dough creates a flavor explosion that’s irresistible. I make these when I need a pick-me-up or when I want to surprise my loved ones with a special homemade treat.
By the way, have you ever had a baking mishap that turned out surprisingly delicious? Let me tell you, I’ve had my fair share of those, and that’s how some of my best recipes were born!
Now, let’s dive into the ingredients you’ll need to whip up these scrumptious cookies.
Ingredients
For these Butterfinger Caramel Crunch Cookies, you’ll need:
– 1 cup of all-purpose flour
– 1/2 teaspoon of baking soda
– 1/4 teaspoon of salt
– 1/2 cup of unsalted butter, softened
– 1/2 cup of granulated sugar
– 1/2 cup of packed brown sugar
– 1 egg
– 1 teaspoon of vanilla extract
– 1/2 cup of chopped Butterfinger bars
– 1/4 cup of caramel bits
Feel free to experiment with different types of chocolates or nuts for a unique twist! I sometimes swap the Butterfinger bars for chopped Snickers for a caramel-nutty variation.
Directions
1. Preheat your oven to 350°F (180°C) and line a baking sheet with parchment paper.
2. In a bowl, whisk together the flour, baking soda, and salt. Set aside.
3. In a separate bowl, cream the butter, granulated sugar, and brown sugar until light and fluffy.
4. Beat in the egg and vanilla extract until well combined.
5. Gradually add the dry ingredients to the wet ingredients, mixing until just combined.
6. Fold in the chopped Butterfinger bars and caramel bits.
7. Drop spoonfuls of dough onto the prepared baking sheet and bake for 10-12 minutes, or until the edges are lightly golden.
8. Allow the cookies to cool on the baking sheet for a few minutes before transferring them to a wire rack to cool completely.
This is the part where I usually can’t resist sneaking a warm cookie before they cool completely!
Notes
Through trial and error, I’ve found that slightly underbaking the cookies results in a chewier texture, which I love. Experiment with baking times to achieve your preferred level of chewiness or crispiness.
Variations
I’ve tried adding a sprinkle of sea salt on top of these cookies before baking, but it didn’t quite hit the mark for me. Sometimes simpler is better, right? However, feel free to explore and share your own twists on this recipe!
Equipment
If you don’t have a stand mixer, fear not! A good old-fashioned hand mixer or even some elbow grease will do the trick. Baking is all about creativity, not just fancy gadgets.
Storage Information
Though theoretically, these cookies can be stored in an airtight container for up to a week, in my house, they mysteriously disappear within a day! They’re just too delicious to resist.
Serving Suggestions
I love serving these cookies slightly warm with a scoop of vanilla ice cream on the side. The contrast of warm, gooey cookies and cold, creamy ice cream is simply divine! How do you like to enjoy your cookies?
Pro Tips
One lesson I’ve learned the hard way is to not overcrowd the baking sheet. Give these cookies some space to spread and crisp up to perfection. Rushing this step can lead to unevenly baked cookies, and trust me; you don’t want that disappointment!
FAQ
Q: Can I use store-bought caramel sauce instead of caramel bits?
A: Absolutely! I’ve tried it, and it works just as well. Just adjust the quantity to your taste preferences.
Q: Do these cookies freeze well?
A: I haven’t tried freezing them myself because they vanish so quickly, but I’ve heard from friends that they freeze beautifully! Just make sure to thaw them properly before enjoying.
Now, go ahead and whip up a batch of these Butterfinger Caramel Crunch Cookies. Your taste buds will thank you, and your friends and family will be begging for more!
Butterfinger Caramel Crunch Cookies
These Butterfinger Caramel Crunch Cookies combine rich caramel, crispy Butterfinger bits, and chewy cookie dough to create a flavor explosion that’s irresistible. Perfect for impressing guests or treating yourself!
Ingredients
-
1 cup all-purpose flour
-
1/2 teaspoon baking soda
-
1/4 teaspoon salt
-
1/2 cup unsalted butter, softened
-
1/2 cup granulated sugar
-
1/2 cup packed brown sugar
-
1 egg
-
1 teaspoon vanilla extract
-
1/2 cup chopped Butterfinger bars
-
1/4 cup caramel bits
Directions
-
Preheat your oven to 350°F (180°C) and line a baking sheet with parchment paper.
-
In a bowl, whisk together the flour, baking soda, and salt. Set aside.
-
In a separate bowl, cream the butter, granulated sugar, and brown sugar until light and fluffy.
-
Beat in the egg and vanilla extract until well combined.
-
Gradually add the dry ingredients to the wet ingredients, mixing until just combined.
-
Fold in the chopped Butterfinger bars and caramel bits.
-
Drop spoonfuls of dough onto the prepared baking sheet and bake for 10-12 minutes, or until the edges are lightly golden.
-
Allow the cookies to cool on the baking sheet for a few minutes before transferring them to a wire rack to cool completely.