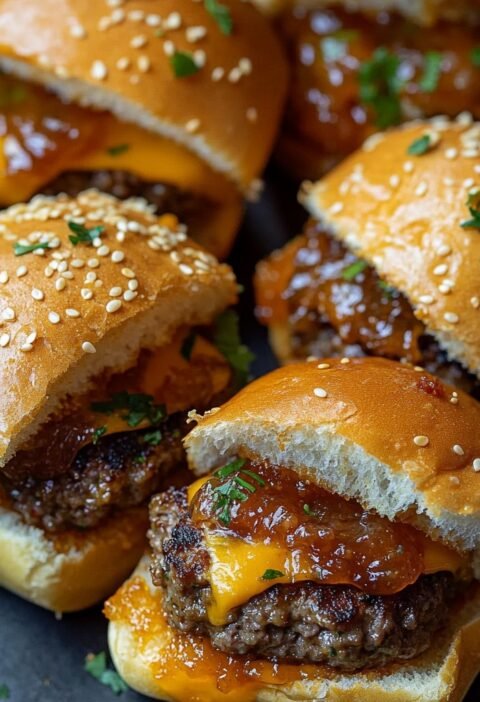
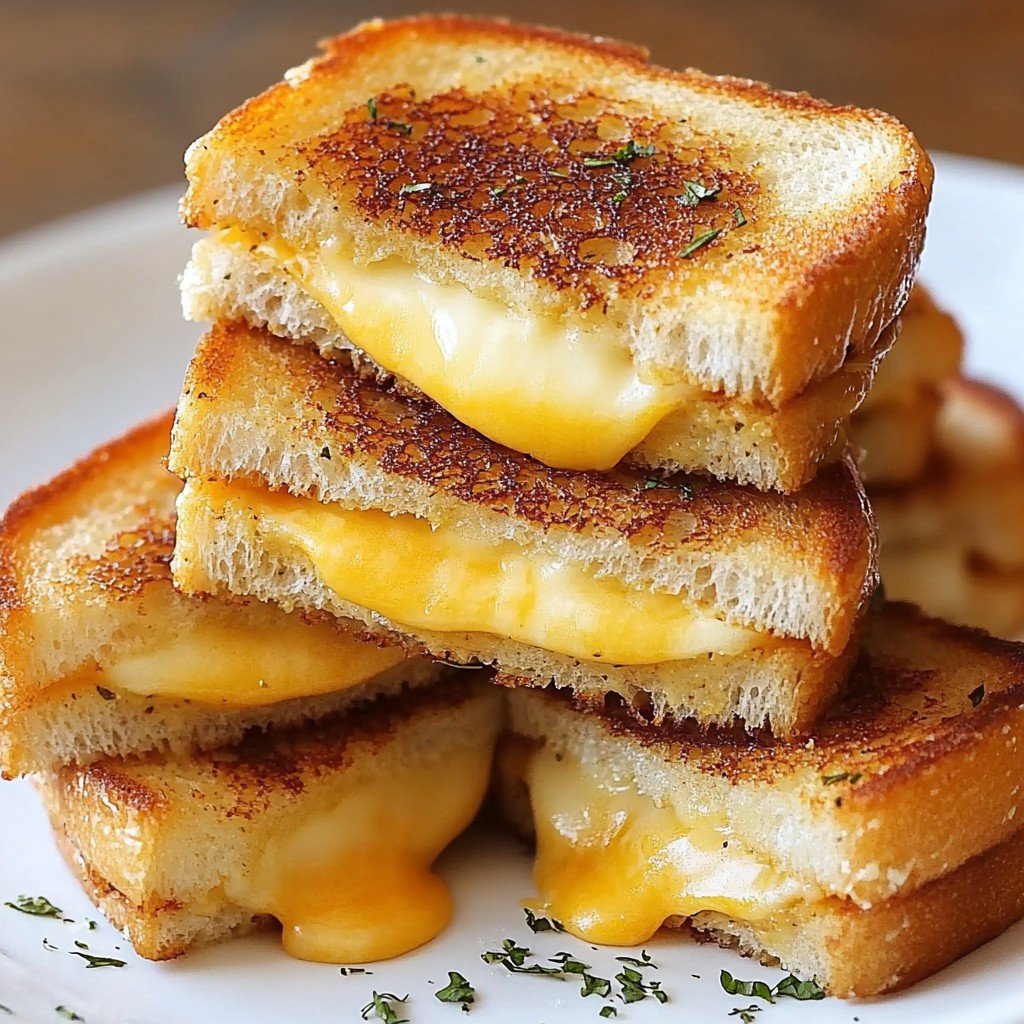
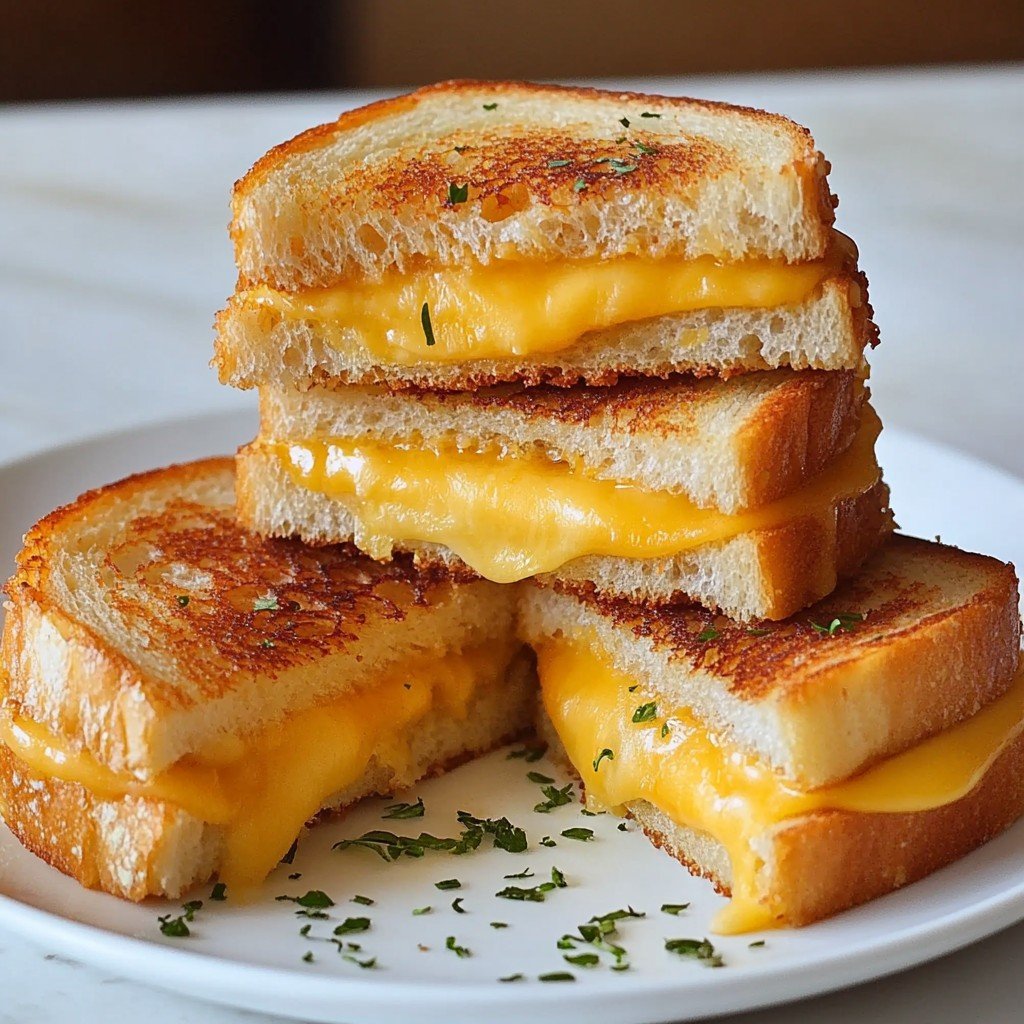
Mini Grilled Cheese Sliders are a delightful twist on the classic grilled cheese sandwich, bringing together all the melty, buttery goodness of the original in a bite-sized form perfect for parties, gatherings, or family snacks.
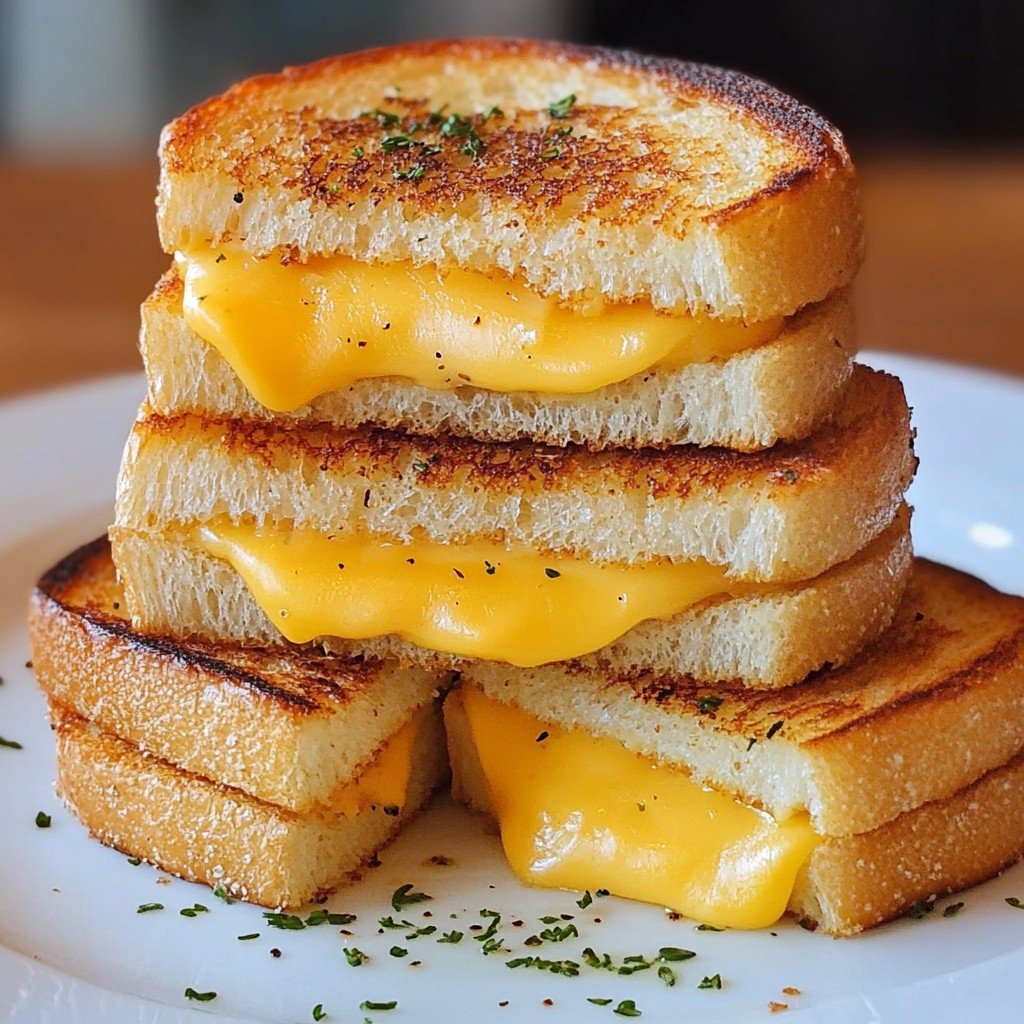
These mouthwatering sliders feature golden, crisped bread encasing rich, gooey cheese, making them both a nostalgic and modern favorite. Across the world, grilled cheese sandwiches have long been cherished for their simplicity and comforting taste.
Originating in the early 20th century with the widespread availability of sliced bread and affordable cheese, the beloved grilled cheese has evolved into countless creative forms—including these popular mini sliders.
The rise of mini foods has made dishes like Mini Grilled Cheese Sliders a staple at birthday parties, casual get-togethers, and holiday events. Their compact size makes them easy to serve and perfectly portioned for kids and adults alike.
The popularity of these sliders also lies in their customizability—swap in your favorite breads, cheeses, or accompaniments to suit any palate. As the trend for smaller, shareable foods continues, Mini Grilled Cheese Sliders embody everything that makes classic comfort food so crave-worthy, while also fitting modern lifestyles.
With minimal ingredients and quick cooking time, this recipe guarantees cheesy satisfaction in every bite-sized sandwich. Whether you are planning a festive appetizer platter, a game-day snack spread, or a simple family meal, Mini Grilled Cheese Sliders are an irresistible addition that captures the heart and soul of home-cooked comfort.
Ingredients
- 12 mini slider buns or dinner rolls
- 8 ounces sharp cheddar cheese, sliced
- 4 ounces mozzarella cheese, sliced
- 4 ounces Monterey Jack cheese, sliced
- 6 tablespoons unsalted butter, softened
- 2 tablespoons mayonnaise
- 1 teaspoon garlic powder
- 1 teaspoon dried Italian herbs (optional)
- Salt and pepper to taste
Instructions
- Preheat a large skillet or griddle over medium heat.
- Slice the slider buns or rolls in half horizontally, keeping each sandwich top and bottom together.
- Spread a thin layer of mayonnaise on the outside of each bun half. This will help achieve a crispy, golden texture when grilled.
- In a small bowl, combine the softened butter, garlic powder, dried Italian herbs, salt, and pepper. Mix until fully incorporated.
- Spread the seasoned butter mixture evenly on the inside of each bun half.
- Layer slices of cheddar, mozzarella, and Monterey Jack cheeses between each set of buns to form sandwiches, making sure not to overfill.
- Place the assembled sliders in the preheated skillet or griddle, working in batches as necessary.
- Press down gently with a spatula, and cook each side for 2-3 minutes, or until the bread is golden brown and the cheese has melted.
- If needed, lower the heat to allow the cheese to melt fully without burning the bread.
- Remove the sliders from the skillet and allow them to cool for a minute before serving. Enjoy warm!
Nutritional Information
Mini Grilled Cheese Sliders offer a satisfying balance of carbohydrates, protein, and fats, stemming from the combination of bread and various cheeses. A typical serving of two sliders contains approximately 320-350 calories, with 18 grams of fat, 26 grams of carbohydrates, and 14 grams of protein.
Cheddar, mozzarella, and Monterey Jack cheeses provide a rich source of calcium, which contributes to healthy bones and teeth.
The butter and mayonnaise used in this recipe add to the richness, supplying healthy fats that can help with satiety, although those carefully watching their fat or cholesterol intake may opt for lighter versions or smaller portions.
Additionally, the inclusion of herbs and garlic powder can provide trace beneficial compounds and antioxidants. While Mini Grilled Cheese Sliders are decidedly indulgent, moderating portion size or substituting with lower-fat cheese or whole-grain bread can help improve their nutritional profile.
Overall, enjoyed as part of a balanced diet and paired with fresh vegetables and healthy beverages, these sliders can be an occasional but satisfying treat for cheese lovers.
Wine and Beverage Pairings
Mini Grilled Cheese Sliders pair wonderfully with a variety of beverages, both for kids and adults. For family gatherings or casual lunches, serve these sliders alongside a tall glass of iced lemonade or a refreshing fruit punch.
The acidity of the lemonade cuts through the richness of the cheese, creating a balanced flavor experience. For adult occasions, consider classic pairings such as an unoaked Chardonnay, Sauvignon Blanc, or sparkling Prosecco, each offering crisp acidity and bright notes that complement the savory, cheesy sliders.
If you're a beer enthusiast, light lagers, pilsners, or wheat beers provide a refreshing counterpoint to the buttery, hearty sliders. For a non-alcoholic but gourmet touch, sparkling water with a splash of citrus or a spiced apple cider also works beautifully.
Cooking Tips and Variations
When preparing Mini Grilled Cheese Sliders, attention to detail can transform a simple recipe into something truly unforgettable. Always choose high-quality bread; slider buns or soft dinner rolls provide the best texture, but you can also use mini brioche or Hawaiian rolls for a slight sweetness.
Allow your cheeses to reach room temperature before assembling, as this ensures even melting and a perfect gooey center. For extra flavor, experiment by adding thinly sliced tomatoes, caramelized onions, pickles, or even a thin smear of pesto or Dijon mustard between the cheese layers.
If you desire more crunch, try sprinkling crispy bacon bits or jalapeño slices inside each slider. For those with dietary restrictions, swap butter and cheese for their vegan counterparts—there are many delicious plant-based options available today.
If you are making a large batch for a crowd, assemble the sliders and use a sheet pan to grill them all in the oven; simply brush with butter and bake at 375°F until golden and melty.
Lastly, always cook sliders over medium heat; this prevents the bread from burning before the cheese melts. With these helpful tips and creative variations, your Mini Grilled Cheese Sliders will be as unique and delicious as your imagination allows.
Serving Suggestions
Mini Grilled Cheese Sliders shine whether starring as a main attraction or playing a supporting role. As appetizers, arrange the sliders attractively on a platter, perhaps skewered with toothpicks for easy grabbing.
They pair perfectly with an array of dipping sauces ranging from classic tomato soup and creamy ranch to spicy sriracha mayo or honey mustard, allowing guests to customize every bite.
For lunch or a light dinner, serve the sliders alongside a vibrant mixed salad, fresh coleslaw, or a bowl of soup for a complete and balanced meal. When entertaining, consider creating a slider bar, offering a variety of cheeses, toppings, and breads so guests can craft their ideal sandwich.
Kids love Mini Grilled Cheese Sliders in packed lunches, as they are perfectly hand-held and easy to eat. When hosting a game day party or movie night, these sliders stay warm on a low-heat serving tray and are ideal for snacking throughout the event.
Presentation adds to their charm; try a rustic wooden board garnished with herbs, mini pickles, or cherry tomatoes for an eye-catching, appetizing effect. However you choose to serve them, Mini Grilled Cheese Sliders are guaranteed to delight.
Health Benefits
While Mini Grilled Cheese Sliders are a comfort food at heart, there are ways to make them more nutritious. The cheeses in this recipe provide ample protein and are rich in calcium, which is beneficial for bone health.
Using whole grain or multigrain mini rolls instead of white bread can increase dietary fiber, which is essential for healthy digestion. For a lighter version, use reduced-fat cheeses and spread less butter or opt for olive oil instead.
The addition of herbs and garlic powder infuses the sliders with flavor while delivering antioxidants and micronutrients. If you're managing sodium intake, choose lower-sodium cheese varieties and use unsalted butter.
Including a side of fresh vegetables or leafy greens with your Mini Grilled Cheese Sliders further boosts the meal's nutritional value and helps achieve a more balanced plate. Individuals following a vegetarian diet can enjoy these sliders as a filling, meatless option.
By making mindful ingredient choices, Mini Grilled Cheese Sliders can be a tasty, occasionally indulgent, yet health-conscious treat.
Frequently Asked Questions
Yes, you can assemble the sliders a few hours ahead, storing them covered in the refrigerator. When ready to serve, simply grill or bake them until the cheese melts and the bread is golden. For the best texture, it is recommended to grill just before serving.
Cheddar, mozzarella, and Monterey Jack are classic choices, but you can experiment with Swiss, provolone, Havarti, or Gouda for different flavors and meltability.
Absolutely. Substitute gluten-free mini rolls or slider buns and double-check all other ingredients for gluten content to enjoy gluten-free Mini Grilled Cheese Sliders.
Assemble the sliders on a baking sheet, brush with butter or mayonnaise, and bake at 375°F in a preheated oven for 10-12 minutes, or until golden and melty. This method ensures you can prepare large quantities quickly.
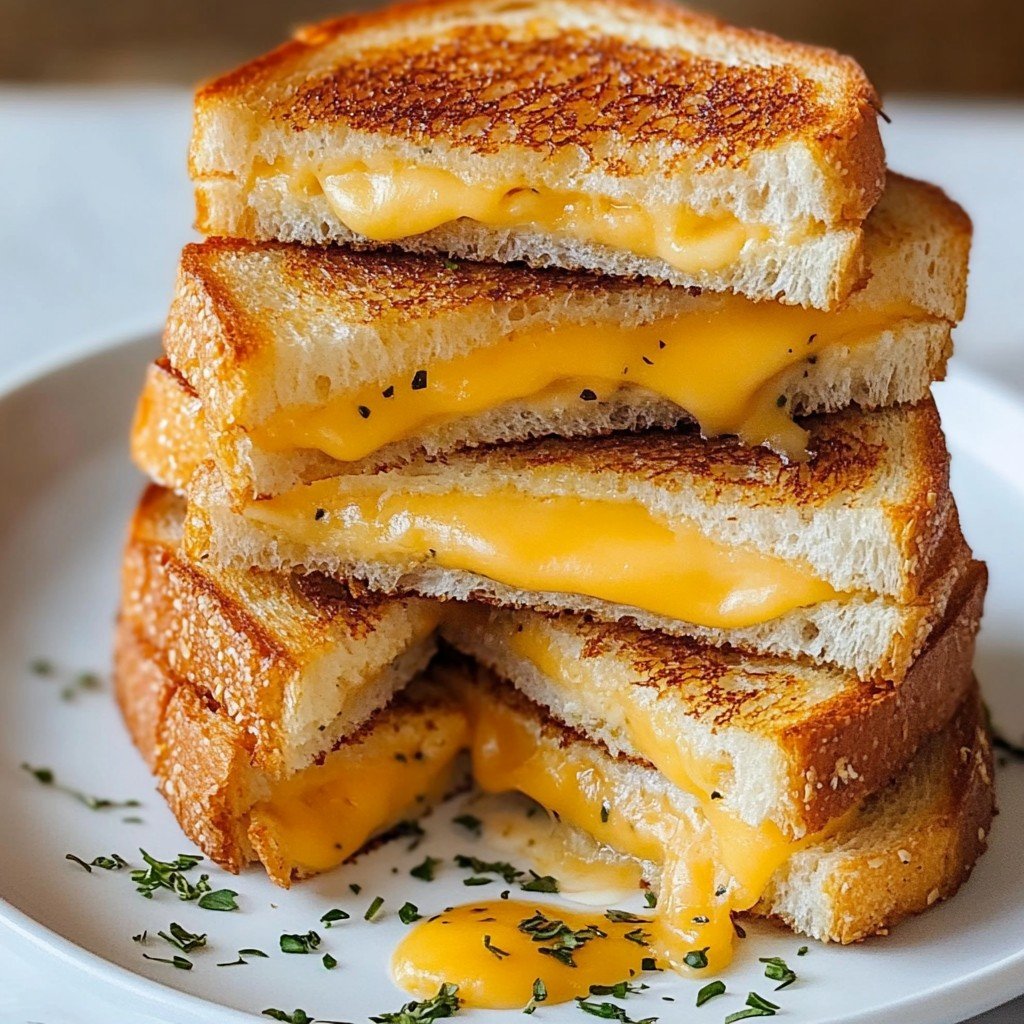
Mini Grilled Cheese Sliders take everything you love about classic grilled cheese sandwiches and package it in a fun, bite-sized format perfect for sharing or snacking. Whether you serve them at lively parties, family meals, or casual lunches, these sliders are certain to satisfy both young and old. Their simplicity, adaptability, and irresistible cheesy appeal make them a crowd favorite that stands the test of time. By using quality ingredients, exploring creative variations, and following expert tips, you can master the art of the perfect Mini Grilled Cheese Sliders every time. Indulge in these golden, gooey morsels and let them become a highlight at your next gathering.
Ingredients
- 12 mini slider buns or dinner rolls
- 8 ounces sharp cheddar cheese, sliced
- 4 ounces mozzarella cheese, sliced
- 4 ounces Monterey Jack cheese, sliced
- 6 tablespoons unsalted butter, softened
- 2 tablespoons mayonnaise
- 1 teaspoon garlic powder
- 1 teaspoon dried Italian herbs (optional)
- Salt and pepper to taste
Instructions
-
1Preheat a large skillet or griddle over medium heat.
-
2Slice the slider buns or rolls in half horizontally, keeping each sandwich top and bottom together.
-
3Spread a thin layer of mayonnaise on the outside of each bun half. This will help achieve a crispy, golden texture when grilled.
-
4In a small bowl, combine the softened butter, garlic powder, dried Italian herbs, salt, and pepper. Mix until fully incorporated.
-
5Spread the seasoned butter mixture evenly on the inside of each bun half.
-
6Layer slices of cheddar, mozzarella, and Monterey Jack cheeses between each set of buns to form sandwiches, making sure not to overfill.
-
7Place the assembled sliders in the preheated skillet or griddle, working in batches as necessary.
-
8Press down gently with a spatula, and cook each side for 2-3 minutes, or until the bread is golden brown and the cheese has melted.
-
9If needed, lower the heat to allow the cheese to melt fully without burning the bread.
-
10Remove the sliders from the skillet and allow them to cool for a minute before serving. Enjoy warm!
Approximate Information for One Serving
Nutrition Disclaimers
Number of total servings shown is approximate. Actual number of servings will depend on your preferred portion sizes.
Nutritional values shown are general guidelines and reflect information for 1 serving using the ingredients listed, not including any optional ingredients. Actual macros may vary slightly depending on specific brands and types of ingredients used.
To determine the weight of one serving, prepare the recipe as instructed. Weigh the finished recipe, then divide the weight of the finished recipe (not including the weight of the container the food is in) by the desired number of servings. Result will be the weight of one serving.
Did you make this recipe?
Please consider Pinning it!