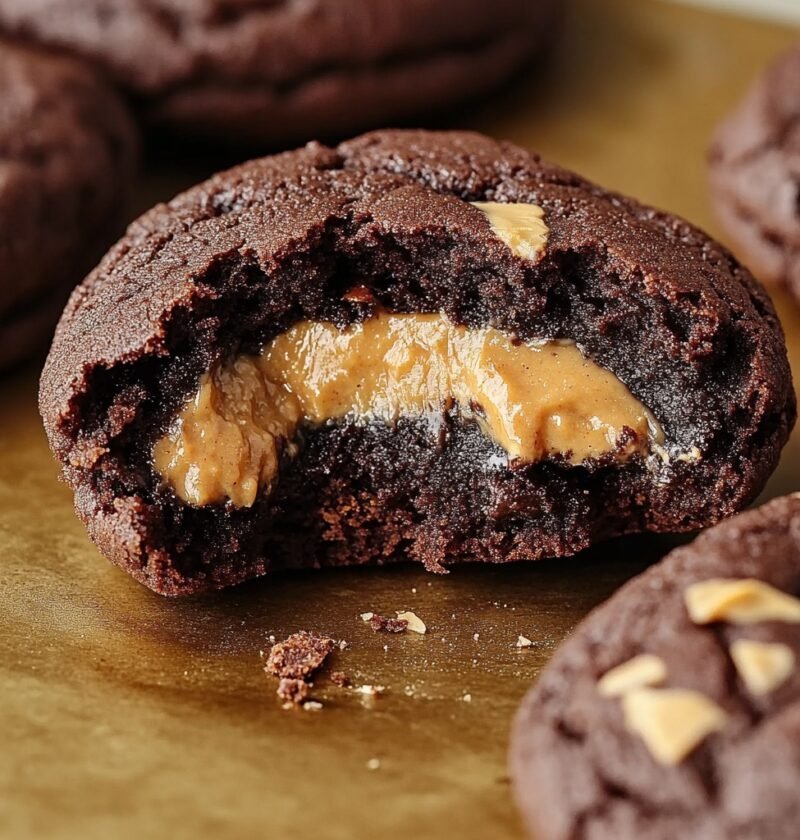
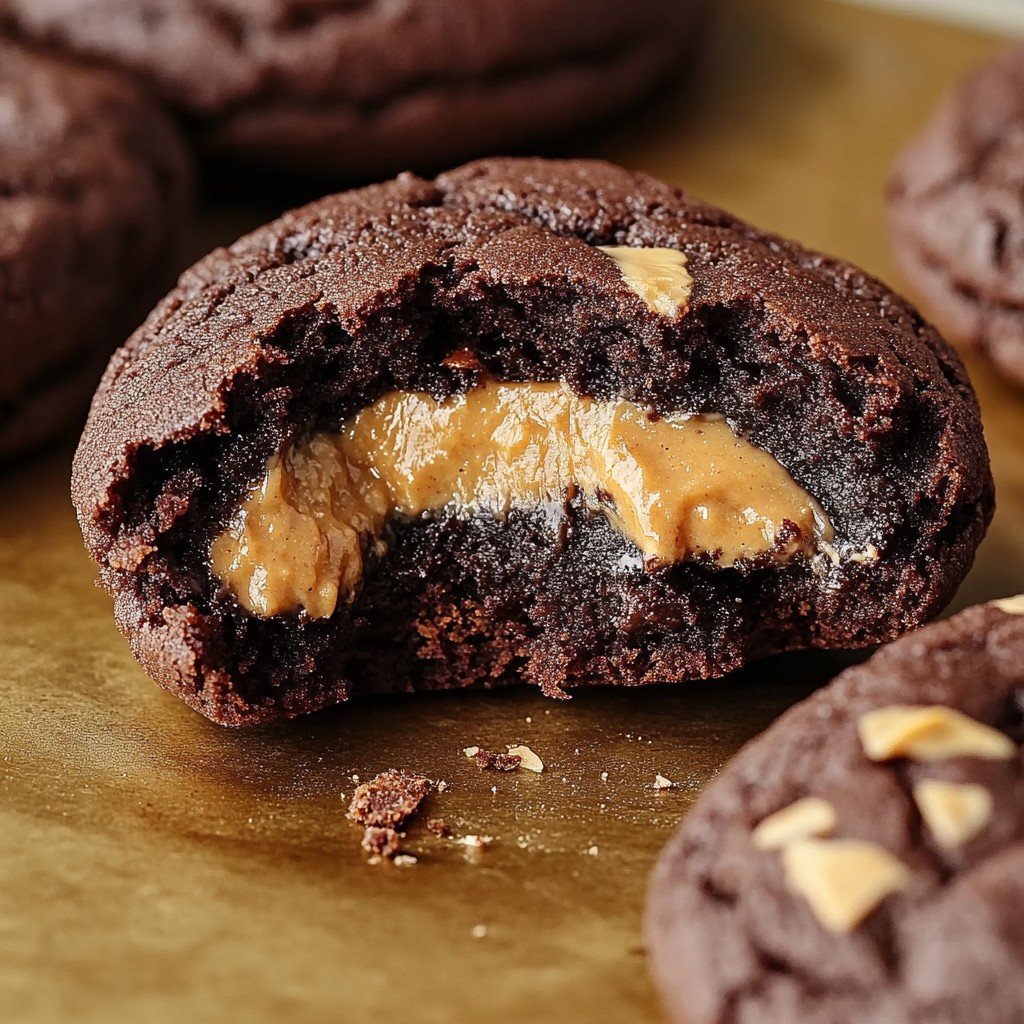
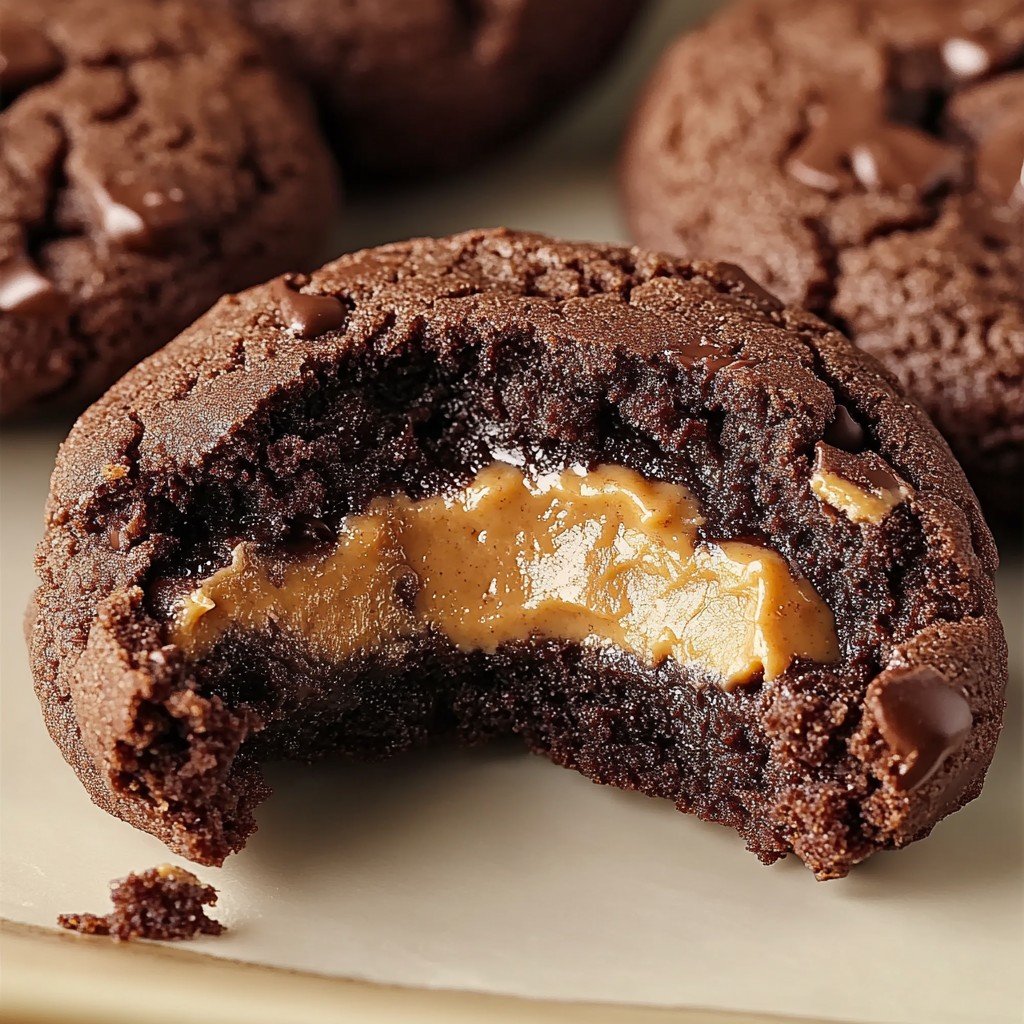
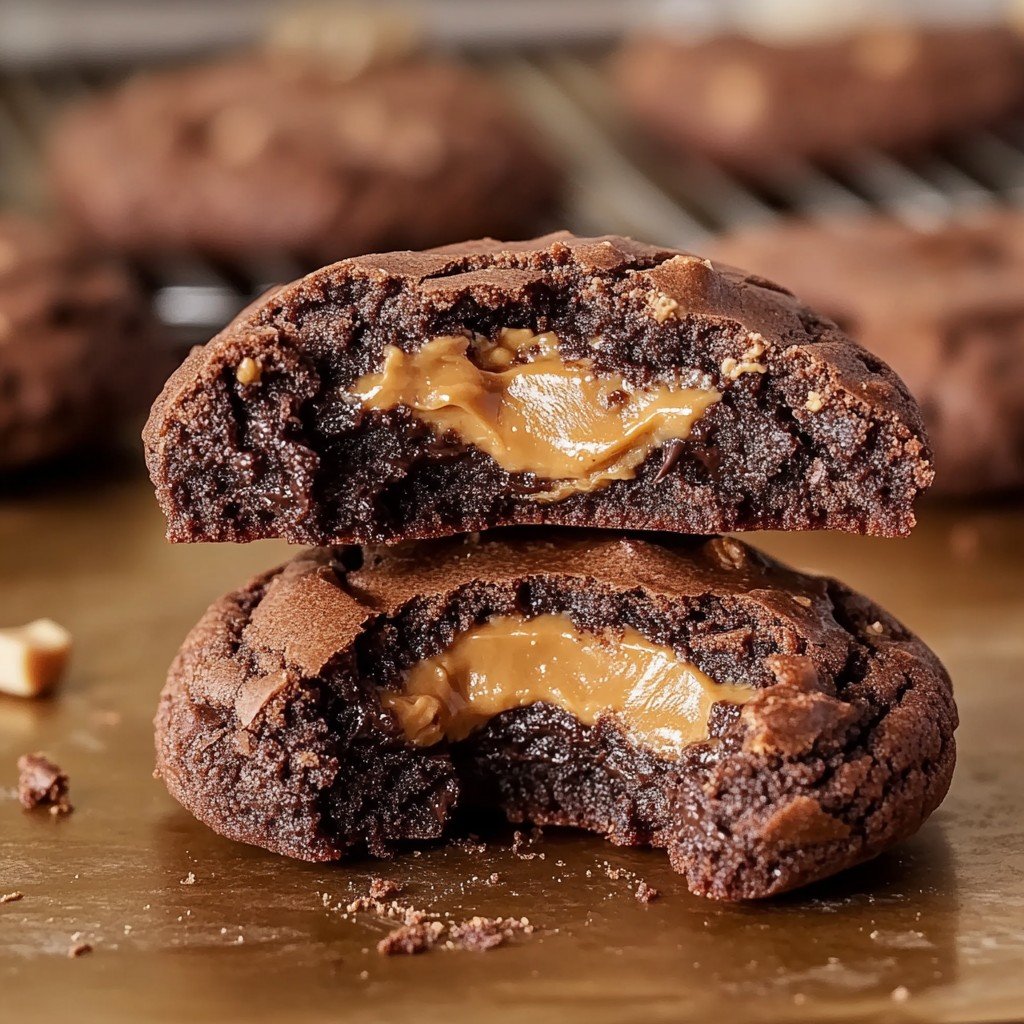
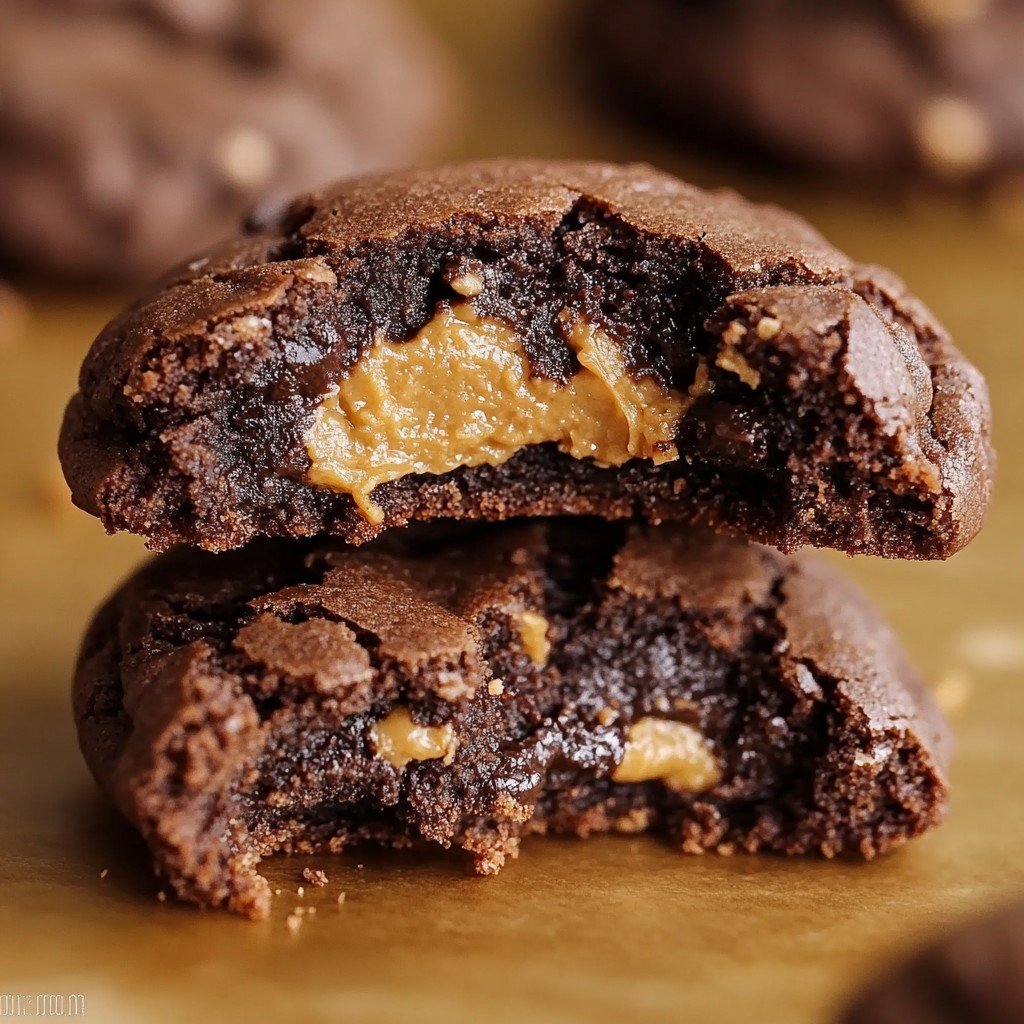
Peanut Butter Chocolate Cookies Spring Cookies bring together the timeless flavors of creamy Peanut Butter and rich chocolate in a delightful, colorful treat ideal for spring celebrations.
As the days get warmer and flowers start to bloom, bakers everywhere look for ways to infuse the cheerfulness of spring into their baking. This recipe does exactly that by pairing the nutty, slightly salty notes of peanut butter with the beloved sweetness of chocolate chips and pastel-colored candies.
The origin of peanut butter chocolate cookies dates back to early 20th-century America, where peanut butter became a pantry staple and home bakers sought new and exciting dessert variations.
By adding festive, pastel-colored candies and optional spring-themed sprinkles, these cookies get a seasonal twist that makes them stand out at any gathering, from Easter brunch to garden parties or as treats for children after a day of outdoor play.
These cookies are known for their chewy centers, slightly crisp edges, and the eye-catching pops of color studded throughout each bite, ensuring they're as enjoyable to eat as they are to look at.
Whether you’re a seasoned baker or a novice trying out spring baking for the first time, Peanut Butter Chocolate Cookies Spring Cookies are a joyful, flavorful way to celebrate the season and create lasting memories with family and friends.
Ingredients
- 1 cup creamy peanut butter
- 1/2 cup unsalted butter, softened
- 1 cup light brown sugar, packed
- 1/2 cup granulated sugar
- 2 large eggs
- 2 teaspoons pure vanilla extract
- 1 and 3/4 cups all-purpose flour
- 1/2 teaspoon baking soda
- 1/2 teaspoon baking powder
- 1/4 teaspoon salt
- 1 cup semi-sweet chocolate chips
- 1/2 cup milk chocolate chunks or chips
- 1/2 cup pastel-colored chocolate candies (such as M&M’s or similar)
- Spring-themed sprinkles or decorations (optional)
Instructions
- Begin by preheating your oven to 350°F (175°C) so it's at the ideal temperature when you’re ready to bake. Line two baking trays with parchment paper to avoid sticking and to provide even heat distribution, ensuring a consistent bake for each cookie.
- In a large mixing bowl, add the creamy peanut butter, softened unsalted butter, packed light brown sugar, and granulated sugar. Use a hand mixer or stand mixer set on medium-high speed to beat these ingredients until the mixture is light, creamy, and noticeably paler in color. This process, which should take about 2 to 3 minutes, introduces air into the dough, which helps create a tender, chewy texture.
- Crack in the eggs, one at a time, incorporating each fully before adding the next. Pour in the vanilla extract, and mix again until the texture is smooth and slightly glossy. This ensures the eggs are evenly dispersed, helping the cookies achieve the perfect structure.
- In a separate medium bowl, whisk together the all-purpose flour, baking soda, baking powder, and salt. Mixing the dry ingredients thoroughly ensures that the leavening agents are evenly spread throughout, preventing any pockets of uneven rise or dense areas in your cookies.
- Gradually add the dry mixture into the wet ingredients, mixing at a low speed or folding by hand with a silicone spatula. Continue until the flour is just combined and no dry patches remain. Be careful not to overmix, as excessive stirring can result in tougher cookies.
- Gently fold in the semi-sweet chocolate chips and milk chocolate chunks, distributing them throughout the dough so every bite contains a mix of chocolate flavors. This combination adds a blend of deep and creamy chocolate notes to balance the peanut butter.
- Next, gently stir in the pastel-colored chocolate candies, reserving a small handful. Mixing these in softly keeps their outer candy shells intact, preserving their colorful appearance within the cookies.
- With a medium cookie scoop or tablespoon, portion out balls of dough and space them about 2 inches apart on the prepared baking trays. These cookies will spread as they bake, so leaving enough room is key for even cooking and uniform shapes.
- Press the remaining pastel-colored chocolate candies gently onto the tops of the cookie dough mounds. If you want to make your cookies extra festive, sprinkle a pinch of spring-themed decorations or colorful sprinkles on top as well.
- Bake each tray in the preheated oven for 10 to 12 minutes. Watch for the edges to turn golden and set while the centers still look slightly soft—the residual heat will finish cooking them as they cool, producing cookies that are perfectly chewy inside.
- Allow the cookies to sit on the trays for about 5 minutes after removing from the oven. This resting period helps them firm up, making it easier to lift them onto a wire rack to cool completely and finish achieving their chewy consistency.
- Serve the Peanut Butter Chocolate Cookies Spring Cookies warm for a gooey experience, or once fully cooled, store them in an airtight container at room temperature for up to five days to maintain their freshness and soft texture.
Nutritional Information
Peanut Butter Chocolate Cookies Spring Cookies strike a tempting balance between flavor and enjoyment, but it’s important to savor them mindfully.
Each cookie is rich in protein thanks to the generous use of creamy peanut butter and eggs, while the combination of semi-sweet and milk chocolate delivers a moderate amount of antioxidants.
The brown sugar not only imparts moisture and a depth of flavor but, coupled with granulated sugar, provides the structure necessary for that signature chewy bite. A typical serving contains calories mainly from the fats in peanut butter and butter, as well as carbohydrates from sugars and flour.
Dietary fiber comes from the flour and the small amount present in peanut butter, helping to add a bit of satiety. The pastel-colored chocolate candies do bump up the sugar content, so moderation is best.
For those keeping an eye on salt intake, the recipe contains a modest amount of salt, balanced by the sweetness and richness of the other ingredients.
Although these cookies are not considered low-calorie, they offer traces of minerals like magnesium and potassium from the peanut butter, plus small amounts of iron from the chocolate. If you want to lighten the recipe, consider making smaller cookies or enjoying them alongside a nutrient-dense snack, such as fruit.
These cookies are designed as an indulgent treat for festive occasions, best enjoyed as part of a balanced diet.
Wine and Beverage Pairings
These cookies shine when served with cold milk, the classic companion to peanut butter and chocolate. For an elevated experience, try pairing them with a creamy vanilla or chocolate milkshake.
Coffee lovers will enjoy their rich flavors alongside a cup of freshly brewed coffee or a cappuccino, especially as an afternoon treat.
For a more grown-up gathering, consider a mild dessert wine such as Moscato d’Asti or a sweet Riesling, both of which highlight the sweetness of the cookies while offering a refreshing finish.
For children, a glass of strawberry milk ties in with the playful spring colors and adds an extra dose of fun.
Cooking Tips and Variations
For ultra-soft and chewy Peanut Butter Chocolate Cookies Spring Cookies, be careful not to overbake; pulling them from the oven while the centers are still a little soft ensures continued cooking as they rest.
Chill the dough for 20–30 minutes before baking if you find your cookies spread too much or if your kitchen is particularly warm. This can help control spreading and further develop flavors.
To add another dimension, consider using crunchy peanut butter for extra texture, or swap some of the chocolate chips for white chocolate or butterscotch chips for a fresh twist. For a nut-free version, sunflower seed butter may be substituted, but the taste will vary.
Want to make your cookies extra decorative for spring? Use flower-shaped sprinkles, or create a marbled swirl by partially blending in a different colored candy melt into the dough before folding in the chocolate chips.
If you love a salty-sweet contrast, garnish with a sprinkle of flaky sea salt right before baking for an enhanced flavor pop. Leftover cookies can also be crumbled and used as a topping for ice cream sundaes or layered in parfaits for an eye-catching dessert presentation during springtime gatherings.
Serving Suggestions
Peanut Butter Chocolate Cookies Spring Cookies are a versatile treat, ideal for a wide range of springtime occasions. For an Easter celebration or spring picnic, arrange them on a colorful platter alongside fresh fruit skewers and mini cupcakes for a festive dessert table.
If you’re entertaining outdoors, wrap each cookie individually in pretty cellophane bags tied with pastel ribbons for an attractive party favor or take-home treat.
These cookies also work as part of a dessert charcuterie board, paired with chocolate-covered strawberries, marshmallows, and mini pastries, creating an inviting spread for guests to enjoy.
For a family movie night or an afternoon snack, serve them warm from the oven with glasses of chilled milk, and let everyone savor the melty chocolate and peanut butter goodness.
If you’re looking for an educational activity for children, have them help decorate the tops of the cookies with extra candies and sprinkles before baking, turning snack time into a creative, hands-on experience. Their vibrant appearance and delightful flavor also make them suitable for bake sales and classroom parties.
Regardless of the occasion, these cookies promise to bring a sense of joy and occasion to your spring gatherings.
Health Benefits
While Peanut Butter Chocolate Cookies Spring Cookies are an indulgent baked good, they do offer a few nutritional highlights. Peanut butter is a good source of healthy monounsaturated fats, which contribute to heart health, as well as protein and dietary fiber for sustained energy.
The eggs provide high-quality protein and essential vitamins like B12, while the chocolate chips add a small but notable amount of antioxidants. The cookies are free from artificial preservatives, making them a preferable choice over some store-bought alternatives.
Still, these cookies contain sugars and saturated fat from butter and candies, so they’re best enjoyed in moderation. To add a bit more fiber and micronutrients, you can consider swapping part of the all-purpose flour for whole wheat flour or adding a tablespoon of chia seeds.
For those with allergies, always ensure there are no cross-contaminations if sharing with friends or family who are sensitive to peanuts or dairy. As a treat, they are a mood-booster and a fun way to engage in seasonal celebrations.
Frequently Asked Questions
Absolutely! Using crunchy peanut butter adds a lovely texture with small peanut pieces in every bite, making the cookies even more delicious and satisfying.
Store the cooled cookies in an airtight container at room temperature for up to five days. For longer storage, freeze the cookies for up to three months, separating layers with parchment paper.
Yes. Scoop the cookie dough onto a tray and freeze until firm, then transfer to a freezer bag. Bake directly from frozen, adding a minute or two to the baking time.
You can substitute a 1:1 gluten-free flour blend for the all-purpose flour to make these cookies gluten-free. Be sure all other ingredient labels also specify gluten-free.
Certainly. You can use any chocolate candies you like or omit them altogether. Other options include mini eggs, white chocolate chips, or pastel-colored sprinkles for decoration.
Peanut Butter Chocolate Cookies Spring Cookies capture the essence of spring in both flavor and appearance, making them the perfect festive addition to any celebration. The classic pairing of peanut butter and chocolate, along with the playful burst of color from pastel candies and sprinkles, ensures that these cookies will be a hit with children and adults alike. Simple enough for beginner bakers yet impressive enough for special occasions, they are a delightful treat that embodies the joyful spirit of the season. Whether you’re making them for family, friends, or simply to satisfy your own sweet tooth, these cookies are sure to become a new springtime favorite. So gather your ingredients, invite a few helping hands, and get ready to bake a batch of cheerful, delicious cookies that everyone will love.
Ingredients
- 1 cup creamy peanut butter
- 1/2 cup unsalted butter, softened
- 1 cup light brown sugar, packed
- 1/2 cup granulated sugar
- 2 large eggs
- 2 teaspoons pure vanilla extract
- 1 and 3/4 cups all-purpose flour
- 1/2 teaspoon baking soda
- 1/2 teaspoon baking powder
- 1/4 teaspoon salt
- 1 cup semi-sweet chocolate chips
- 1/2 cup milk chocolate chunks or chips
- 1/2 cup pastel-colored chocolate candies (such as M&M’s or similar)
- Spring-themed sprinkles or decorations (optional)
Instructions
-
1Begin by preheating your oven to 350°F (175°C) so it’s at the ideal temperature when you’re ready to bake. Line two baking trays with parchment paper to avoid sticking and to provide even heat distribution, ensuring a consistent bake for each cookie.
-
2In a large mixing bowl, add the creamy peanut butter, softened unsalted butter, packed light brown sugar, and granulated sugar. Use a hand mixer or stand mixer set on medium-high speed to beat these ingredients until the mixture is light, creamy, and noticeably paler in color. This process, which should take about 2 to 3 minutes, introduces air into the dough, which helps create a tender, chewy texture.
-
3Crack in the eggs, one at a time, incorporating each fully before adding the next. Pour in the vanilla extract, and mix again until the texture is smooth and slightly glossy. This ensures the eggs are evenly dispersed, helping the cookies achieve the perfect structure.
-
4In a separate medium bowl, whisk together the all-purpose flour, baking soda, baking powder, and salt. Mixing the dry ingredients thoroughly ensures that the leavening agents are evenly spread throughout, preventing any pockets of uneven rise or dense areas in your cookies.
-
5Gradually add the dry mixture into the wet ingredients, mixing at a low speed or folding by hand with a silicone spatula. Continue until the flour is just combined and no dry patches remain. Be careful not to overmix, as excessive stirring can result in tougher cookies.
-
6Gently fold in the semi-sweet chocolate chips and milk chocolate chunks, distributing them throughout the dough so every bite contains a mix of chocolate flavors. This combination adds a blend of deep and creamy chocolate notes to balance the peanut butter.
-
7Next, gently stir in the pastel-colored chocolate candies, reserving a small handful. Mixing these in softly keeps their outer candy shells intact, preserving their colorful appearance within the cookies.
-
8With a medium cookie scoop or tablespoon, portion out balls of dough and space them about 2 inches apart on the prepared baking trays. These cookies will spread as they bake, so leaving enough room is key for even cooking and uniform shapes.
-
9Press the remaining pastel-colored chocolate candies gently onto the tops of the cookie dough mounds. If you want to make your cookies extra festive, sprinkle a pinch of spring-themed decorations or colorful sprinkles on top as well.
-
10Bake each tray in the preheated oven for 10 to 12 minutes. Watch for the edges to turn golden and set while the centers still look slightly soft—the residual heat will finish cooking them as they cool, producing cookies that are perfectly chewy inside.
-
11Allow the cookies to sit on the trays for about 5 minutes after removing from the oven. This resting period helps them firm up, making it easier to lift them onto a wire rack to cool completely and finish achieving their chewy consistency.
-
12Serve the Peanut Butter Chocolate Cookies Spring Cookies warm for a gooey experience, or once fully cooled, store them in an airtight container at room temperature for up to five days to maintain their freshness and soft texture.
Approximate Information for One Serving
Nutrition Disclaimers
Number of total servings shown is approximate. Actual number of servings will depend on your preferred portion sizes.
Nutritional values shown are general guidelines and reflect information for 1 serving using the ingredients listed, not including any optional ingredients. Actual macros may vary slightly depending on specific brands and types of ingredients used.
To determine the weight of one serving, prepare the recipe as instructed. Weigh the finished recipe, then divide the weight of the finished recipe (not including the weight of the container the food is in) by the desired number of servings. Result will be the weight of one serving.
Did you make this recipe?
Please consider Pinning it!