The Water Pie Vintage Dessert Recipe is a testament to culinary resourcefulness born out of necessity during the Great Depression. This humble yet delightful pie emerged when families had to stretch their limited ingredients and still provide something sweet and comforting for the table.
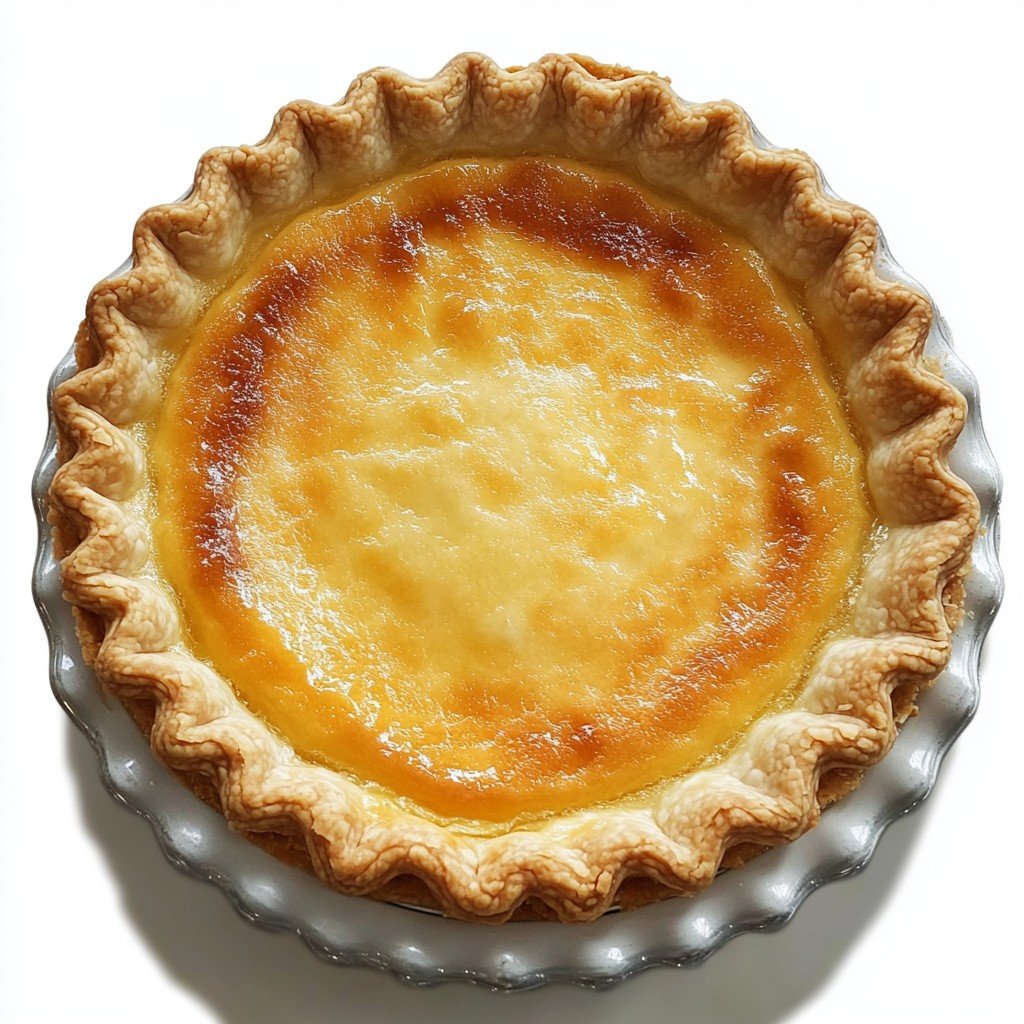
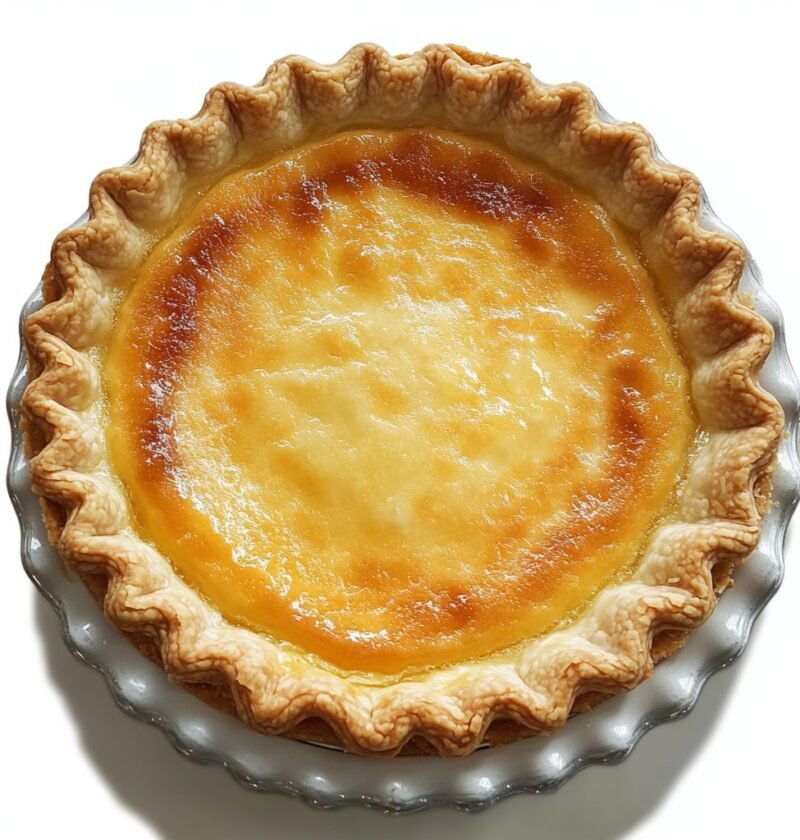
At its core, the Water Pie Vintage Dessert Recipe requires only a handful of basic pantry staples—water, sugar, flour, butter, and a ready-made or homemade pie crust. Its simplicity is its charm, producing a custard-like, sweet dessert that’s both nostalgic and uniquely satisfying.
The Water Pie Vintage Dessert Recipe stands as an enduring symbol of creativity and the ability to transform the simplest ingredients into a dessert with surprising depth of flavor.
Popular in the rural southern United States during times of rationing, water pie has experienced a resurgence as modern home bakers celebrate vintage and heritage recipes.
The Water Pie Vintage Dessert Recipe not only satisfies a sweet tooth but also connects today’s cooks to the endurance and ingenuity of the past, making it a delightful addition to any collection of classic confections.
Whether you’re exploring historical baking or simply seeking a cost-effective, easy dessert for your family, water pie offers a touch of history with every forkful.
Ingredients
- 1 unbaked 9-inch pie crust (store-bought or homemade)
- 1 1/2 cups water (room temperature)
- 4 tablespoons all-purpose flour
- 1 cup granulated sugar
- 5 tablespoons unsalted butter (room temperature, sliced)
- 1 teaspoon vanilla extract
- Pinch of salt
Instructions
- Preheat your oven to 400°F (200°C).
- Place the unbaked pie crust into a 9-inch pie dish, crimping the edges as desired.
- Pour 1 1/2 cups of water directly into the pie crust.
- In a small bowl, mix together the flour and sugar until blended. Evenly sprinkle this mixture over the water in the pie crust.
- Place the butter slices over the flour and sugar mixture, distributing them to cover the surface as evenly as possible.
- Drizzle vanilla extract over the top, then add a pinch of salt.
- Do not stir. Carefully place the pie in the preheated oven.
- Bake at 400°F (200°C) for 30 minutes. Then, reduce the oven temperature to 375°F (190°C) and bake an additional 20 to 25 minutes, or until the pie is set around the edges but still slightly jiggly in the center.
- Remove the pie from the oven and let it cool completely at room temperature to allow the filling to set. Refrigerate for at least 2 hours before slicing.
- Serve chilled or at room temperature. Store any leftovers covered in the refrigerator.
Nutritional Information
Each slice of the Water Pie Vintage Dessert Recipe offers a unique nutritional profile reflective of its origins as a Depression-era treat. Typically, a slice (assuming the pie is cut into 8 servings) will contain approximately 220 to 260 calories per serving.
This dessert is relatively low in fat compared to rich cream pies or cakes, with about 9 to 11 grams of fat per serving, largely from the butter and pie crust. The carbohydrates are primarily derived from the sugar and flour, with around 35 to 40 grams per slice.
Water pie is notably low in protein, generally offering 1 to 2 grams per serving.
While it lacks the nutritional density of fruit-based desserts or those containing dairy or eggs, it compensates by being a lighter choice and is suitable for those who wish to enjoy a dessert with a simple ingredient list.
Additionally, water pie contains negligible amounts of sodium and zero cholesterol if you use a plant-based, shortening-based crust. Its minimalism is ideal for those searching for modest calorie options or for occasions when more nutrient-dense desserts are not necessary.
Always keep portion size in mind, as the sugar content is significant. To make the Water Pie Vintage Dessert Recipe even lighter, you can substitute a portion of the sugar with a sugar alternative, but this will slightly affect the texture and flavor.
Wine and Beverage Pairings
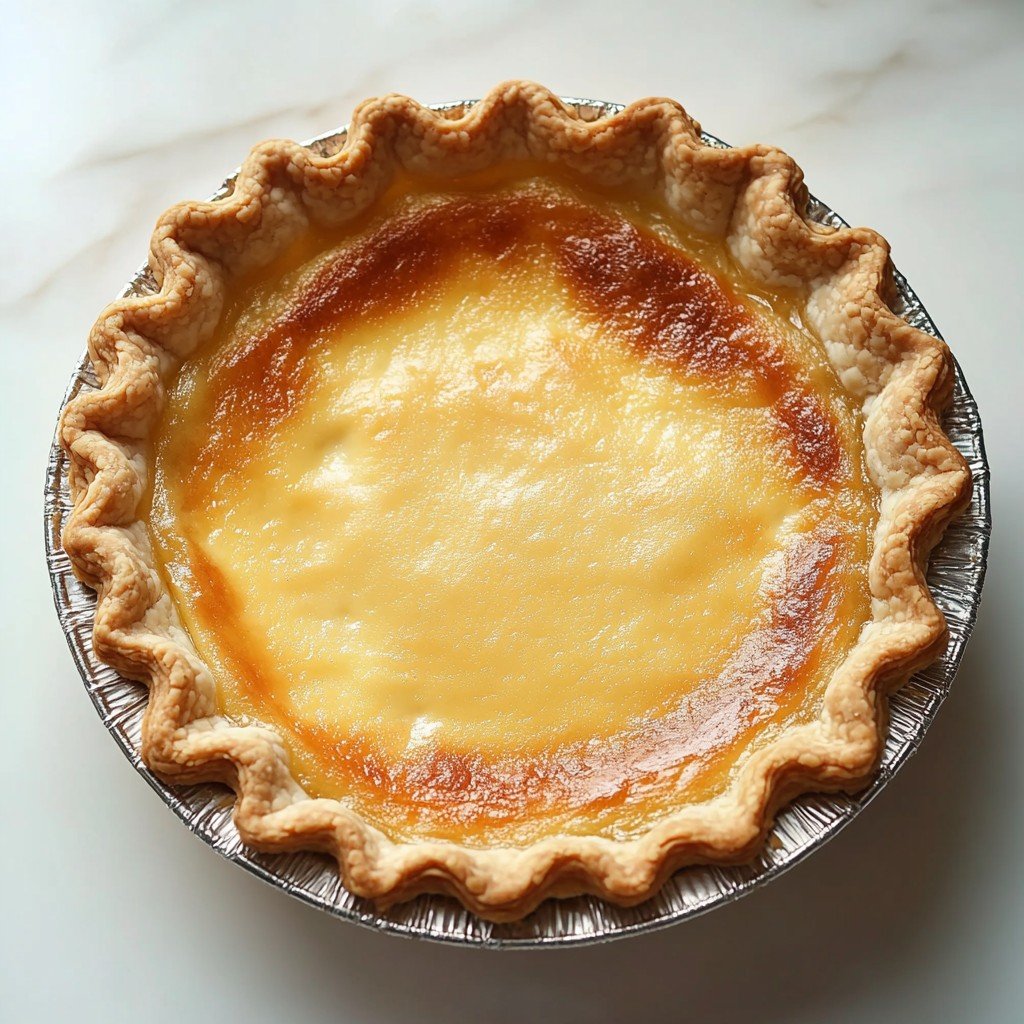
With the Water Pie Vintage Dessert Recipe’s subtle sweetness and custardy texture, pairing it with the right beverage enhances the nostalgic experience. Classic options include a hot cup of coffee or black tea, as their robust flavors balance the pie’s delicate profile.
For wine enthusiasts, a late-harvest Riesling or Moscato’s gentle sweetness mirrors the dessert without overpowering its simplicity. If you prefer non-alcoholic choices, try serving it with homemade lemonade or a glass of cold milk.
Herbal teas, such as chamomile or mint, also provide a soothing complement, making this dessert fit for a variety of occasions, from casual afternoons to vintage-themed gatherings.
Cooking Tips and Variations
The Water Pie Vintage Dessert Recipe is forgiving, making it ideal for beginners or those baking with limited ingredients. For an extra flavor boost, you can add a sprinkle of cinnamon or nutmeg before baking, which complements the understated vanilla sweetness beautifully.
If you prefer a denser custard-like texture, increase the flour by one tablespoon. For a more translucent, delicate filling, reduce the flour by a half tablespoon. The pie crust can be store-bought or homemade, but ensure it is unbaked before pouring in the filling.
To prevent a soggy bottom, you can place the pie dish on a preheated baking sheet, which helps the crust start cooking right away. If you're feeling adventurous, experiment by incorporating brown sugar for a richer, caramelized flavor, or add a tablespoon of lemon zest for brightness.
The Water Pie Vintage Dessert Recipe can also be made vegan by using plant-based butter and a vegan pie crust. For added texture, consider sprinkling chopped nuts or shredded coconut over the pie before baking.
Keep an eye on the oven during the final stages to avoid overbaking, as the filling should have a gentle wobble in the center for the best texture.
Serving Suggestions
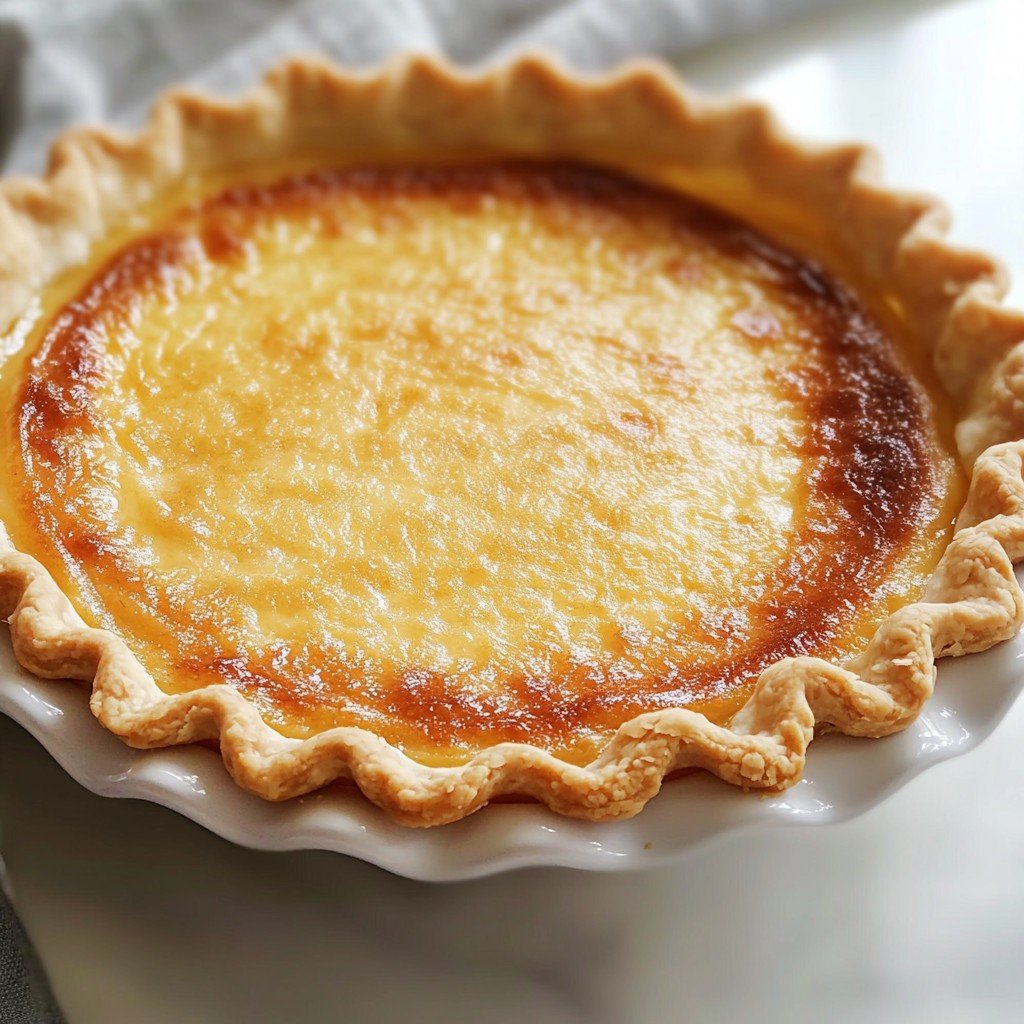
When it comes to serving the Water Pie Vintage Dessert Recipe, presentation can elevate its humble origins. After allowing the pie to chill thoroughly, use a sharp knife warmed under hot water and dried before each cut to ensure clean slices.
The pie enjoys a custard-like, jiggly center that firms up as it cools, making it essential to allow enough time in the refrigerator for perfect slices.
For a vintage touch, serve each portion on floral china with a light dusting of powdered sugar or a few fresh berries on the side.
While it’s delicious on its own, a dollop of whipped cream or a scoop of vanilla ice cream brings extra indulgence to the experience of this classic. The Water Pie Vintage Dessert Recipe is a crowd-pleaser for holiday meals, potlucks, or simple family dinners.
Because it’s eggless and made with common pantry ingredients, it’s also a thoughtful choice for guests with dairy or egg sensitivities—just use an appropriate crust and butter alternative if needed. For casual entertaining, consider cutting the pie into smaller squares and serving as bite-sized treats.
No matter the occasion, water pie brings a sense of nostalgia and comfort, connecting each guest to a shared sense of culinary history.
Health Benefits
Although the Water Pie Vintage Dessert Recipe is not particularly high in protein, vitamins, or minerals, it does offer some understated health benefits due to its minimal ingredients and lack of processed additives found in many modern desserts.
Because it’s dairy-free, egg-free, and can be made vegan, water pie is suitable for those with food allergies or dietary restrictions, provided the pie crust and butter align with their needs. Its lower fat content compared to richer pies makes it a lighter option for those watching their daily intake.
Additionally, the absence of eggs and heavy cream reduces cholesterol, making this dessert a better choice for heart-conscious individuals. With no artificial flavorings or colorings, the Water Pie Vintage Dessert Recipe is a clean-eating choice grounded in whole ingredients.
As always, moderation is key—while water pie is low in fat and protein, it is relatively high in sugar, so those with diabetes or blood sugar concerns should enjoy it sparingly or adapt the sugar content as desired.
Ultimately, the pie’s most significant benefit may be its emotional comfort and the nostalgic warmth it brings, reminding us of simpler times and the power of resourceful, home-cooked food.
Frequently Asked Questions
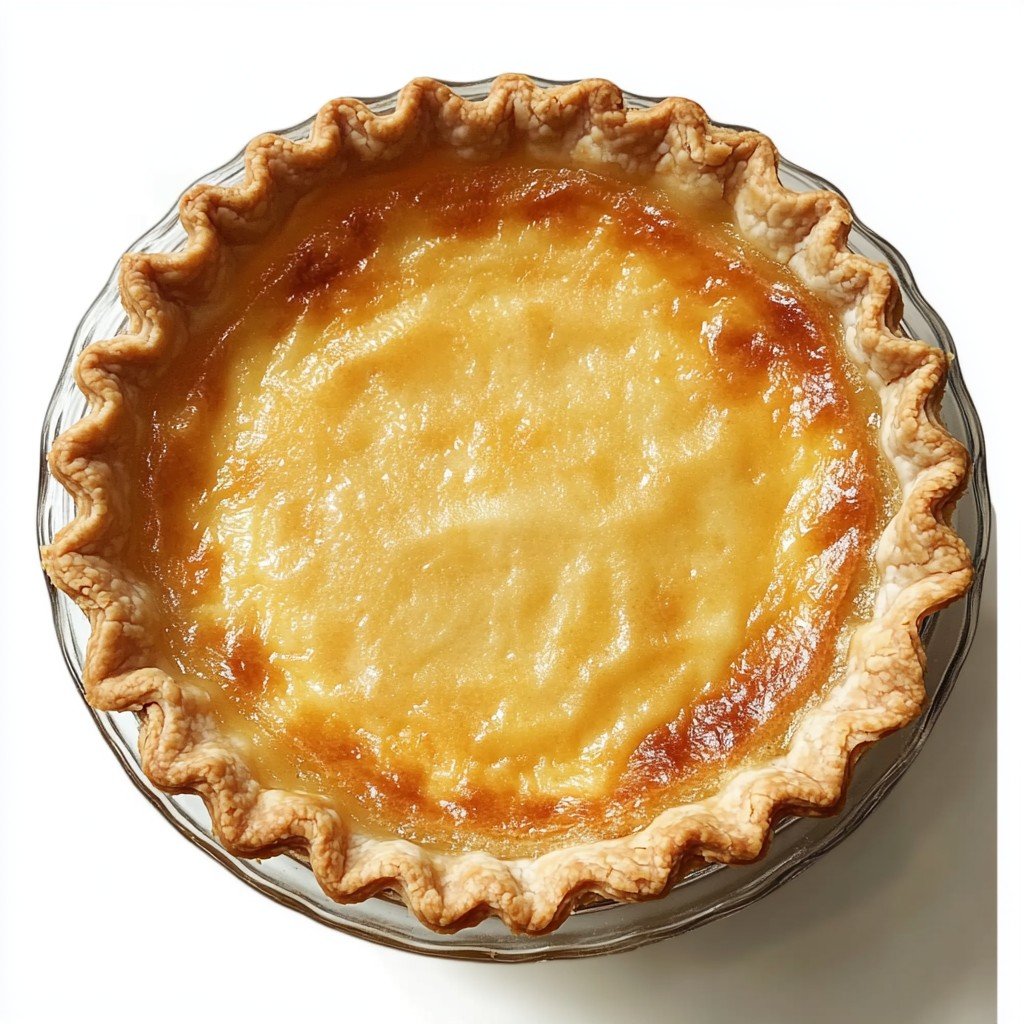
Yes, the Water Pie Vintage Dessert Recipe can and should be made ahead of time to allow the filling to cool and set properly. It is best when refrigerated for at least 2 hours, or even overnight, before serving.
You can substitute whole wheat or gluten-free flour in equal amounts, though the texture may vary slightly. Whole wheat flour will provide a heartier crumb, while gluten-free blends may result in a more delicate filling.
If your filling is runny, it may not have baked long enough or didn’t cool fully. Ensure the pie is set around the edges before removing from the oven and allow it to cool and refrigerate thoroughly to firm up.
Absolutely! Try adding a teaspoon of citrus zest, a pinch of nutmeg, or a splash of almond extract. Just avoid stirring or overloading the filling to maintain the classic texture.
Yes, you can substitute the butter with plant-based alternatives and use a vegan pie crust to make the Water Pie Vintage Dessert Recipe entirely vegan.
The Water Pie Vintage Dessert Recipe beautifully encapsulates the spirit of ingenuity that defined an era when creativity in the kitchen was essential. With just a few humble ingredients, it manages to deliver a dessert that’s both satisfying and full of character, bridging generations with each slice. Whether you’re bringing a taste of the past to a modern table, seeking a budget-friendly treat, or simply intrigued by vintage recipes, water pie is an ideal choice. Its gentle sweetness, custard-like texture, and adaptability ensure it’s enjoyed by all ages. Try this cherished recipe for your next gathering or family dinner and enjoy both its delightful flavor and historical significance.
Ingredients
- 1 unbaked 9-inch pie crust (store-bought or homemade)
- 1 1/2 cups water (room temperature)
- 4 tablespoons all-purpose flour
- 1 cup granulated sugar
- 5 tablespoons unsalted butter (room temperature, sliced)
- 1 teaspoon vanilla extract
- Pinch of salt
Instructions
-
1Preheat your oven to 400°F (200°C).
-
2Place the unbaked pie crust into a 9-inch pie dish, crimping the edges as desired.
-
3Pour 1 1/2 cups of water directly into the pie crust.
-
4In a small bowl, mix together the flour and sugar until blended. Evenly sprinkle this mixture over the water in the pie crust.
-
5Place the butter slices over the flour and sugar mixture, distributing them to cover the surface as evenly as possible.
-
6Drizzle vanilla extract over the top, then add a pinch of salt.
-
7Do not stir. Carefully place the pie in the preheated oven.
-
8Bake at 400°F (200°C) for 30 minutes. Then, reduce the oven temperature to 375°F (190°C) and bake an additional 20 to 25 minutes, or until the pie is set around the edges but still slightly jiggly in the center.
-
9Remove the pie from the oven and let it cool completely at room temperature to allow the filling to set. Refrigerate for at least 2 hours before slicing.
-
10Serve chilled or at room temperature. Store any leftovers covered in the refrigerator.
Approximate Information for One Serving
Nutrition Disclaimers
Number of total servings shown is approximate. Actual number of servings will depend on your preferred portion sizes.
Nutritional values shown are general guidelines and reflect information for 1 serving using the ingredients listed, not including any optional ingredients. Actual macros may vary slightly depending on specific brands and types of ingredients used.
To determine the weight of one serving, prepare the recipe as instructed. Weigh the finished recipe, then divide the weight of the finished recipe (not including the weight of the container the food is in) by the desired number of servings. Result will be the weight of one serving.
Did you make this recipe?
Please consider Pinning it!